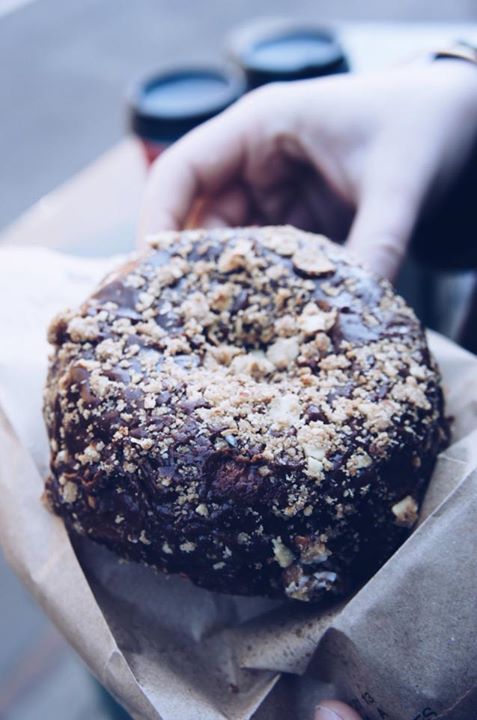
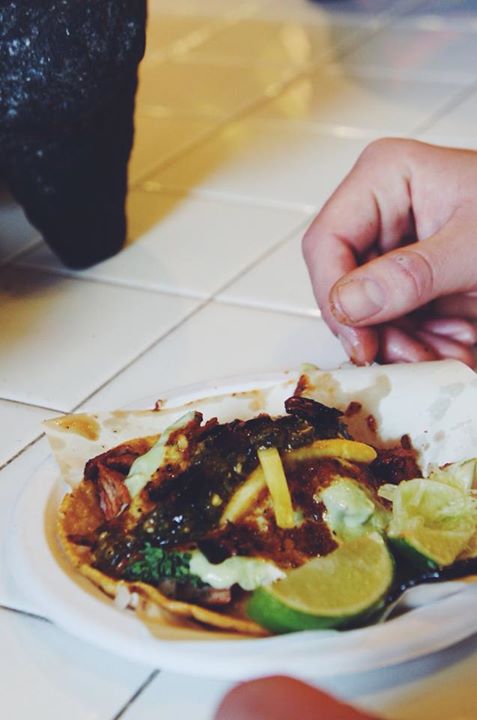
Some photos from a weekend spent wandering in Copenhagen.
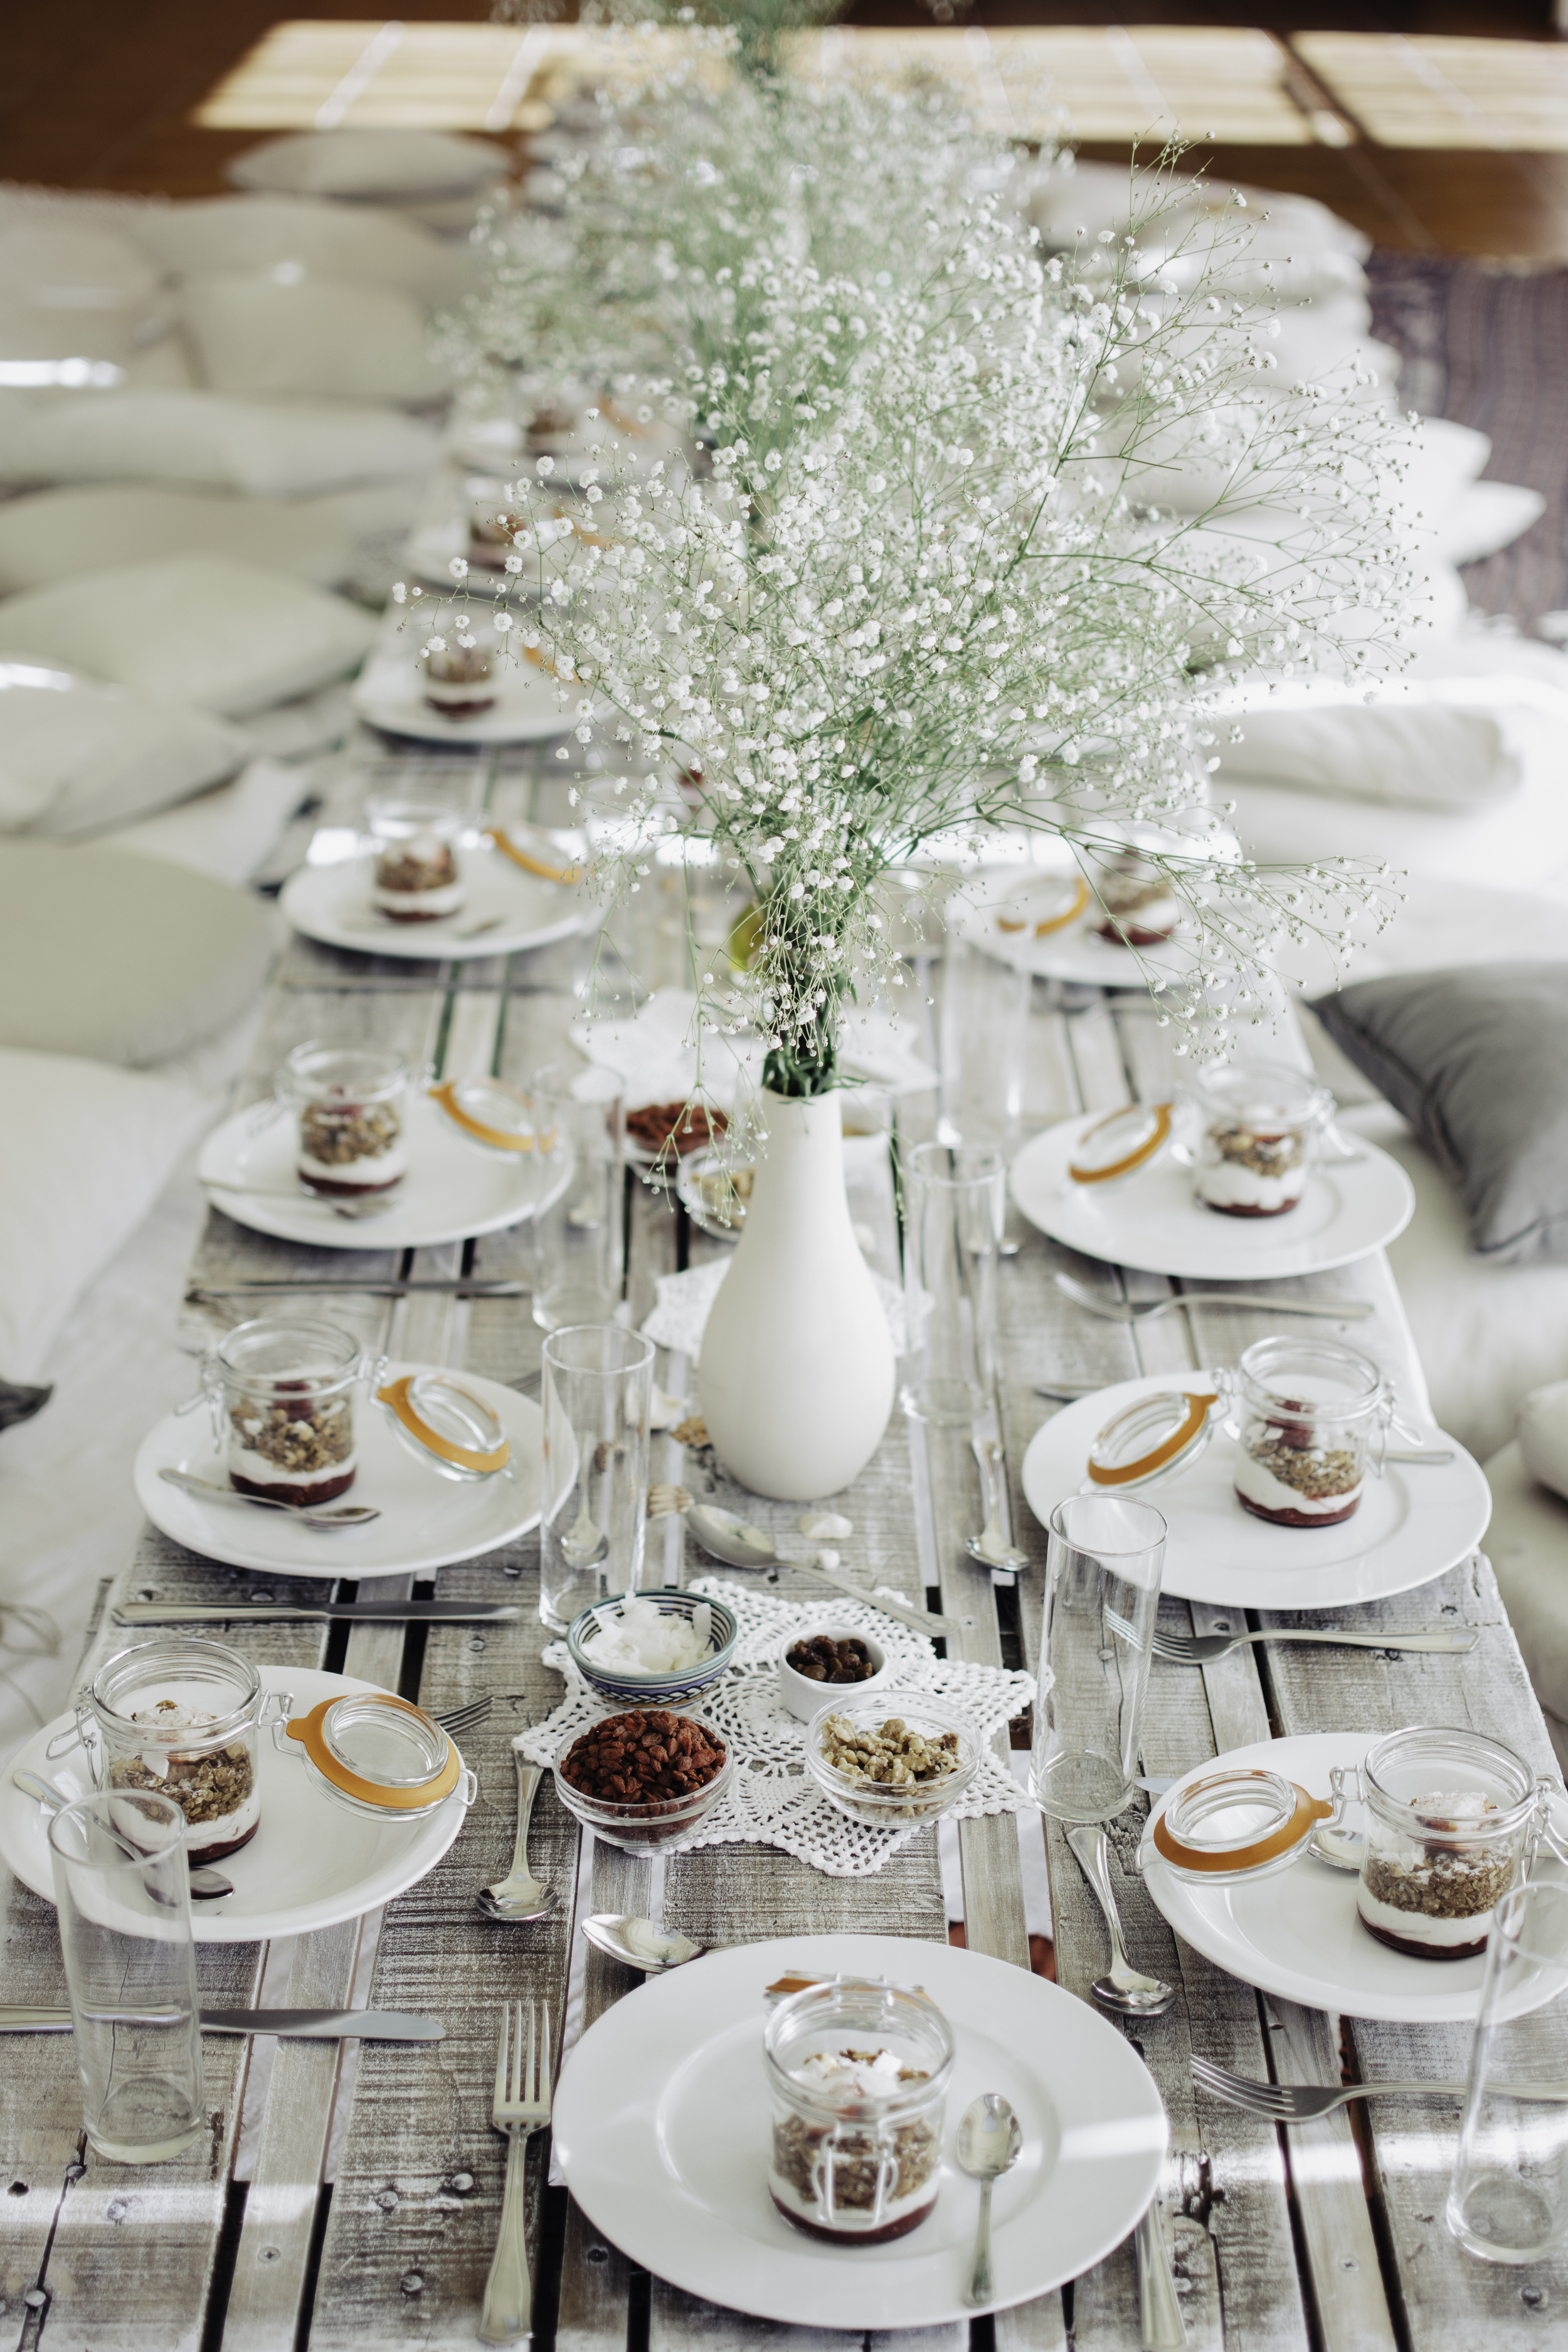
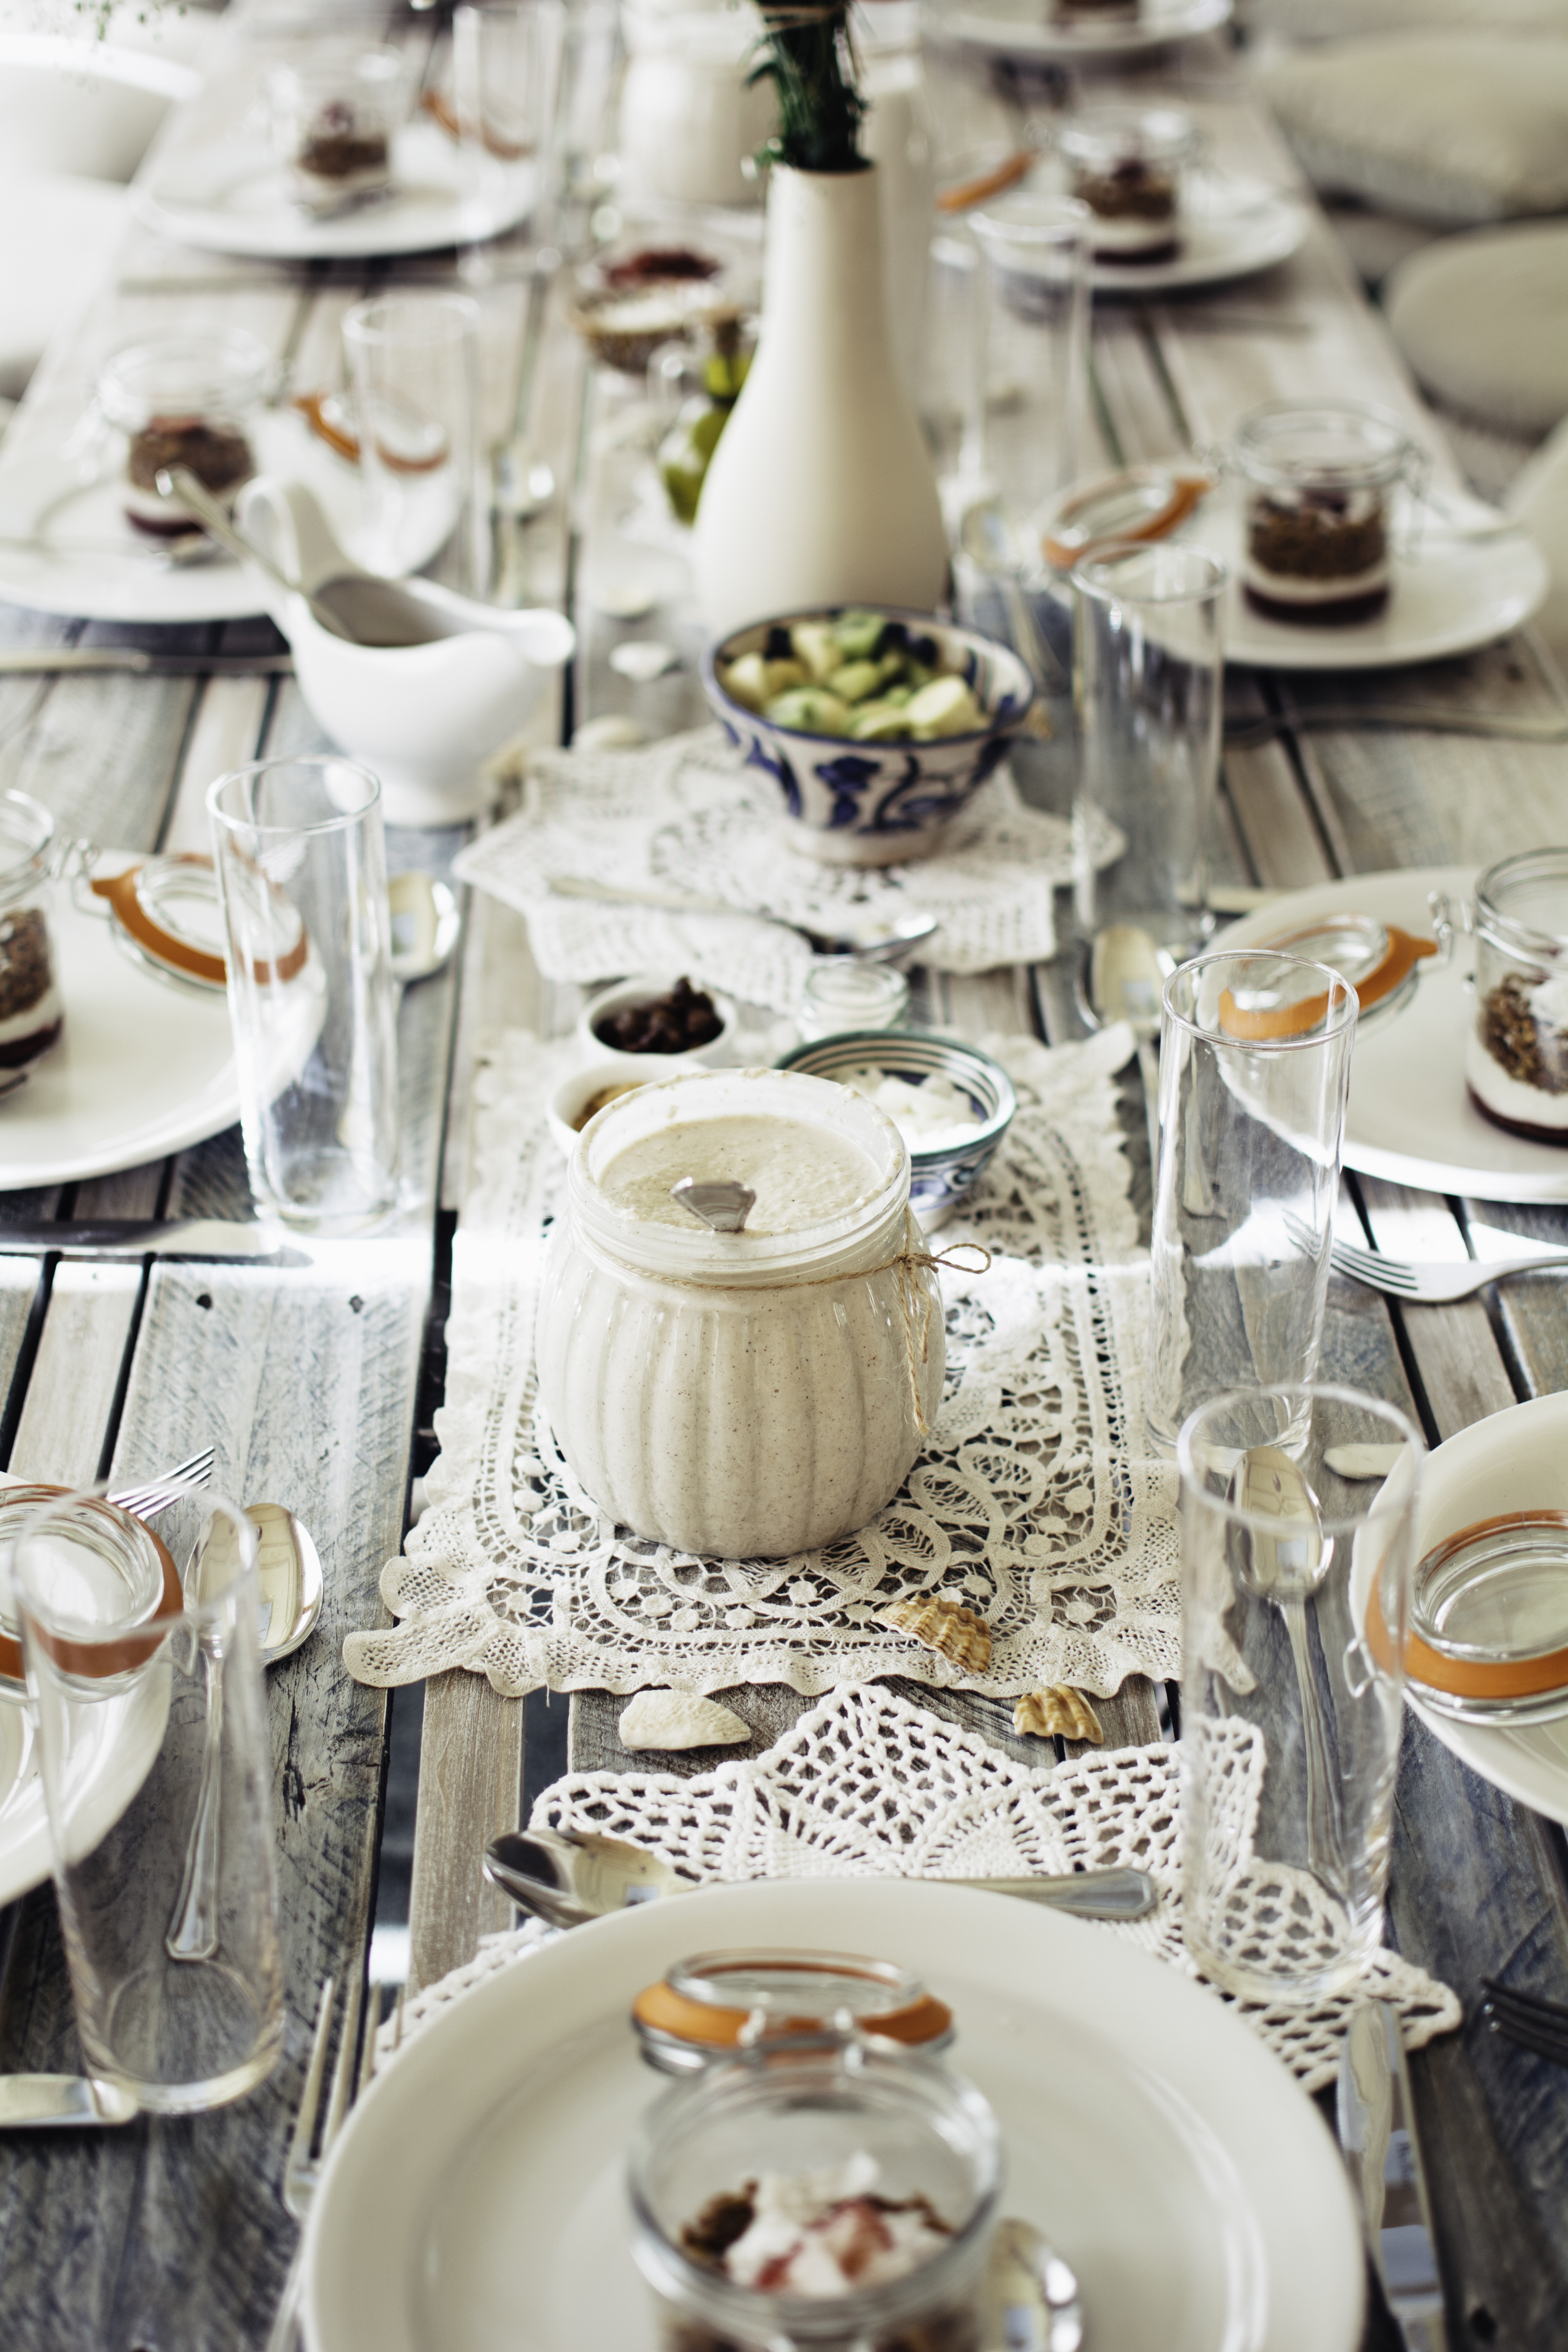
At the beginning of February Stephanie from Angel's Belly asked if I would fly out to Benahavís, a small mountain village some 7km inland from the southern coast of Spain, to shoot their first yoga and brunch retreat.
Stephanie set up Angel's Belly as a way to reach out to people with a shared interest in healthy eating, and with an aim to spread a healthy message and help educate others to feel empowered to make better choices about their bodies and what they put in them. Recently she launched Angel's Belly retreats, the first of which took place at the Gran Hotel Benahavís. Guests started off with a yoga class, followed by a plant-based brunch club with things like cold-pressed juices, cashew yoghurt parfait, homemade granola, baked quinoa-stuffed mushrooms and a variety of plant-based/vegan spreads and breads on offer. To finish there was a lecture given on the benefits of eating a plant-based diet and a few myth-busters on foods and alternatives that are promoted as being good for you. It was hugely inspiring to spend time with a group of passionate people who take a considered and holistic approach to eating and personal well-being, and I came away with a few new opinions and a lot more knowledge.
I spent a few days in Benahavís exploring the village and surrounding area - the landscape was nothing like I have seen in Spain before: brooding, mountainous, wild. The village itself is perched on patch of mountain that stays sun-soaked through til dusk, with steep, winding cobbled streets lined with white-washed houses. There was a certain charm in its isolated location, I felt as if I'd stumbled across a secret place that no one else knew about.
Below are some of my favourite photos from the project.
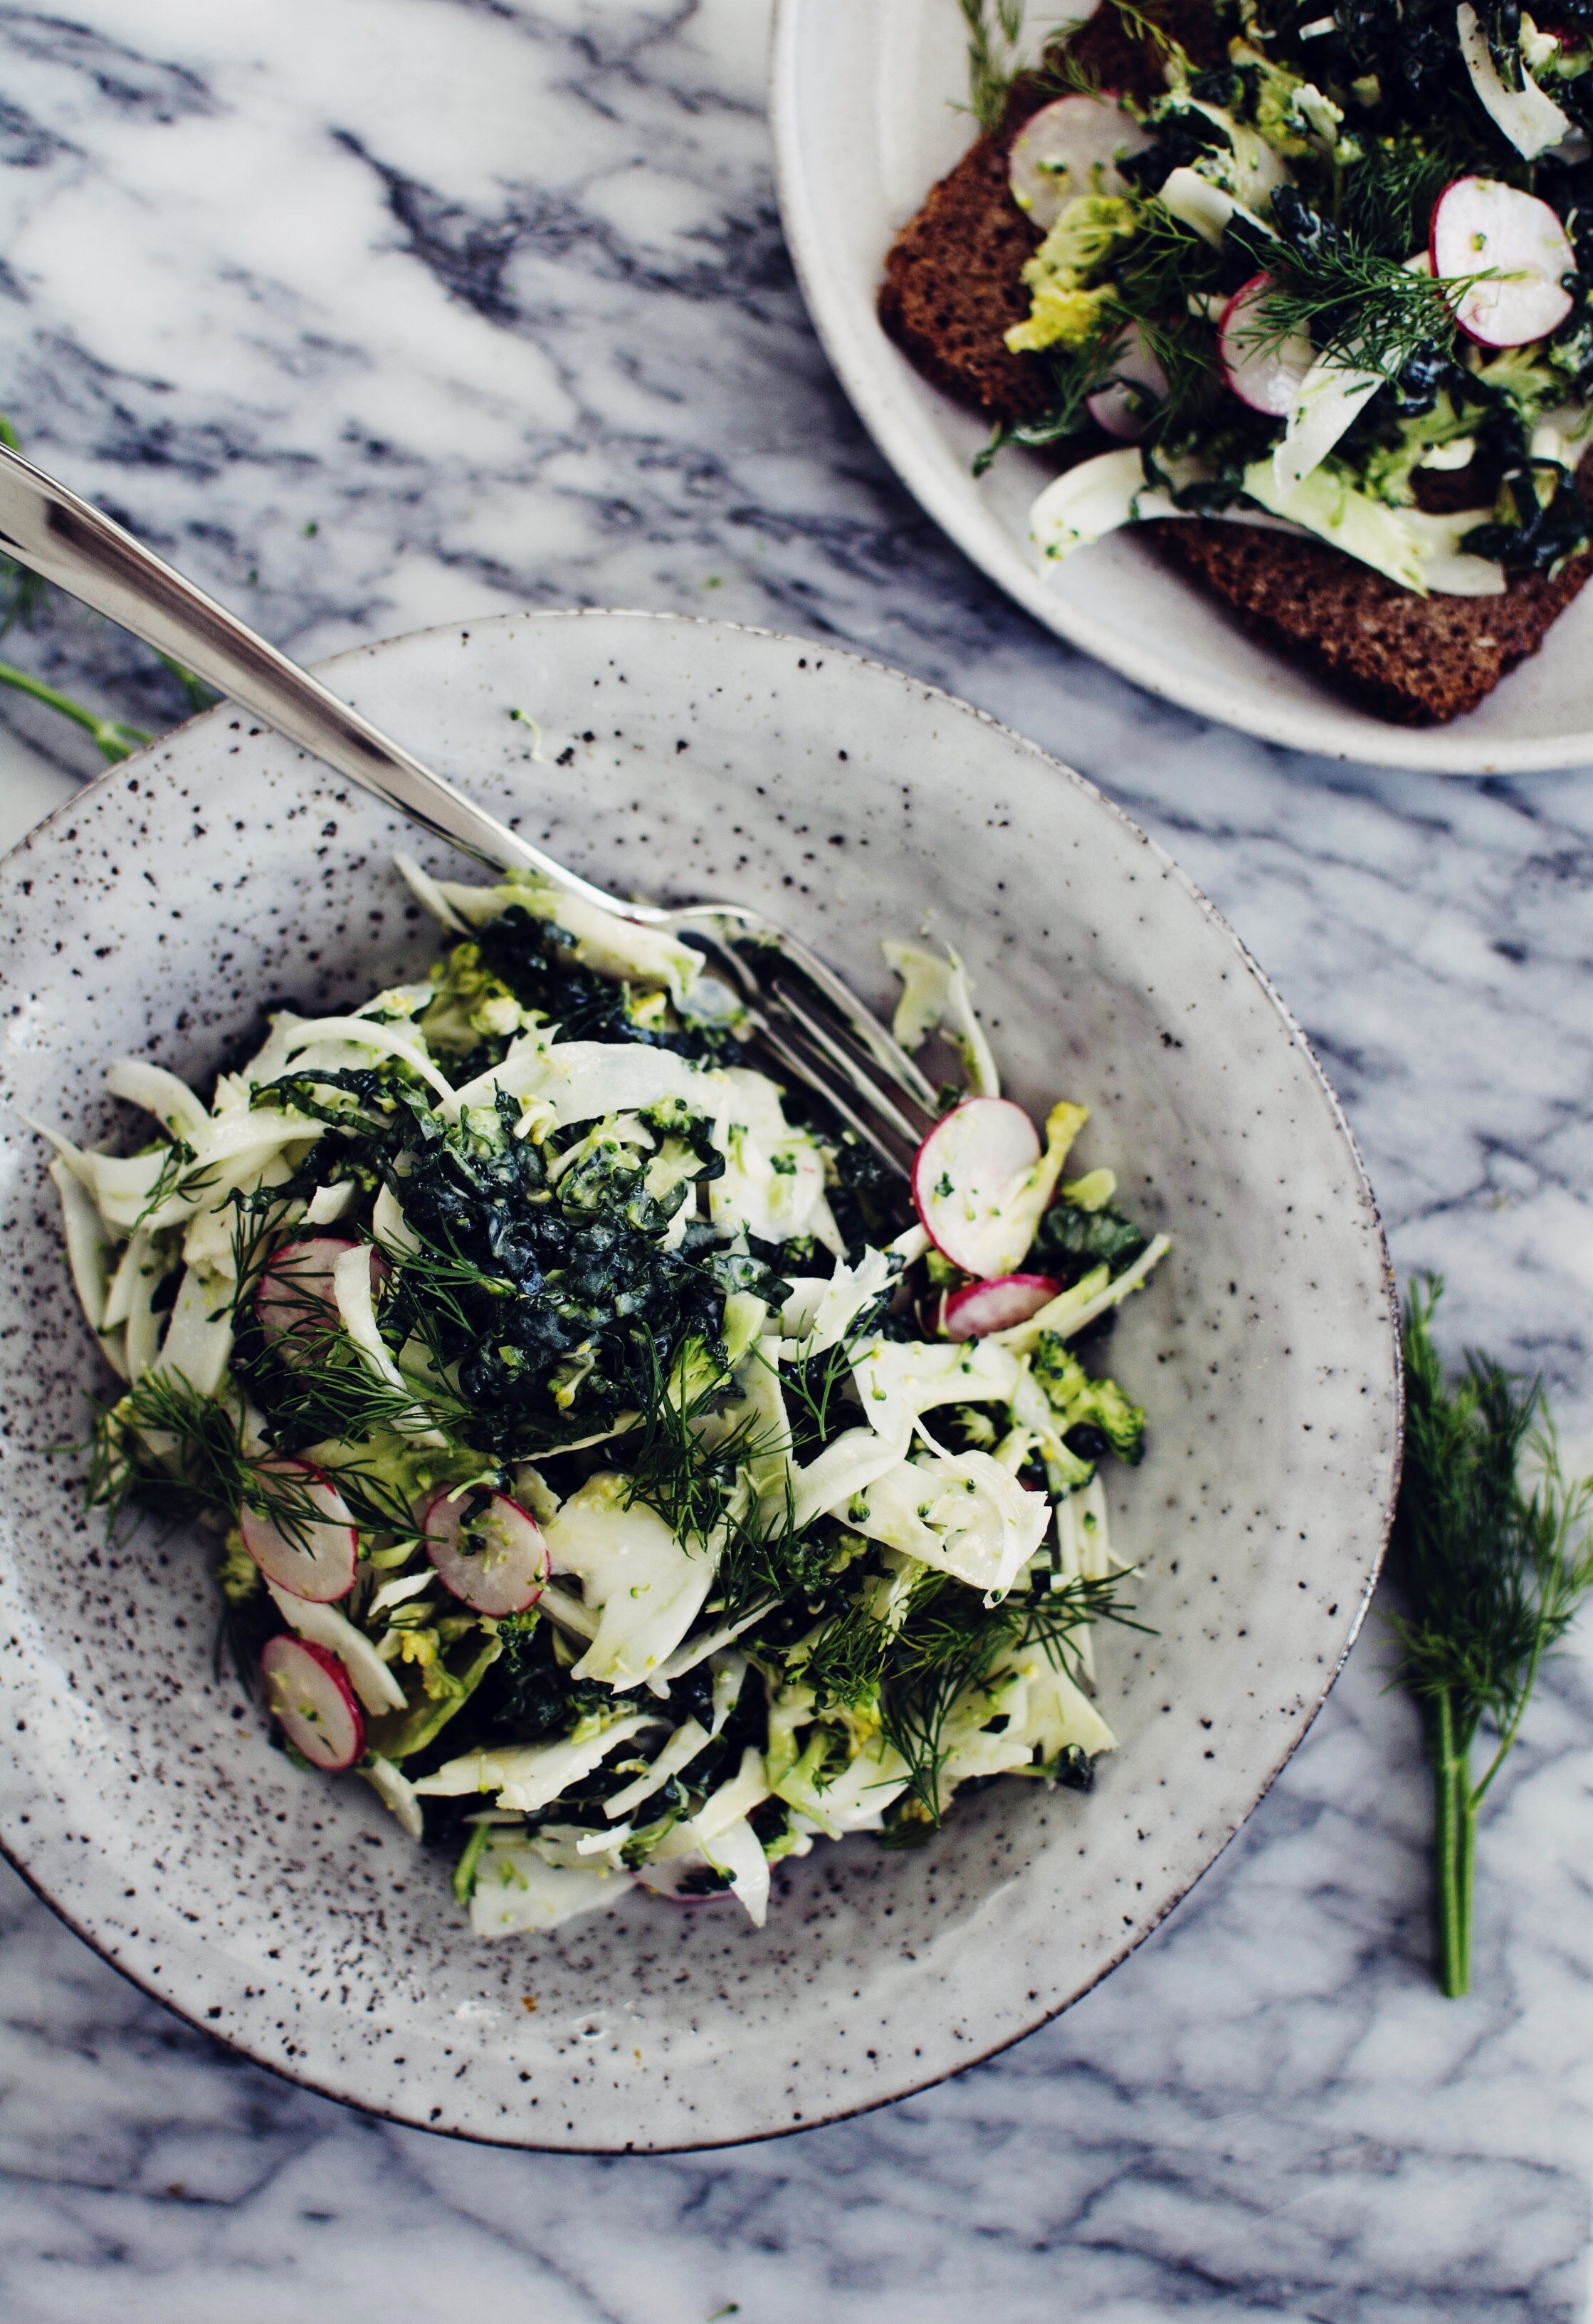
It started out of sheer laziness, adding raw vegetables to salads instead of bothering to cook them. With a single swipe along my mandolin I had slithers of cauliflower, fennel or broccoli that would have otherwise been cooked first had this new option not been so convenient. With the right kind of dressing I found that I could make a sort of vegetable ceviche, the edge taken off that typically unappetising ‘rawness’, the flavour mellowing through marinating in my lunch box on my desk at work.
I’ve been testing various slaw recipes periodically, sometimes opting for an Asian combination of flavours, other times a luxuriously creamy American style, but this really is the recipe that I keep coming back to. The dressing here unlike in other slaw recipes is certainly not the show-stealer, but its subtle nutty flavour thanks to tahini is a welcome note on the palate. Throw this together quickly and leave for a while for the flavours to really gel. I eat this for lunch on its own, or with half an avocado for good measure. Adding a slice of rye bread into the equation is always a welcome addition, too.
If you’ve been reading my posts for a while you would have heard me discuss a new found love of plant-based eating, and although I cannot confirm that I have been exercising this new diet religiously and without steak/eggs, I can confirm that for the most part I am still enjoying creating dairy-free/meat-free dishes – on occasion. This slaw just so happens to work extremely well with either a dairy alternative to yoghurt, or the real deal. So, do with it what you will.
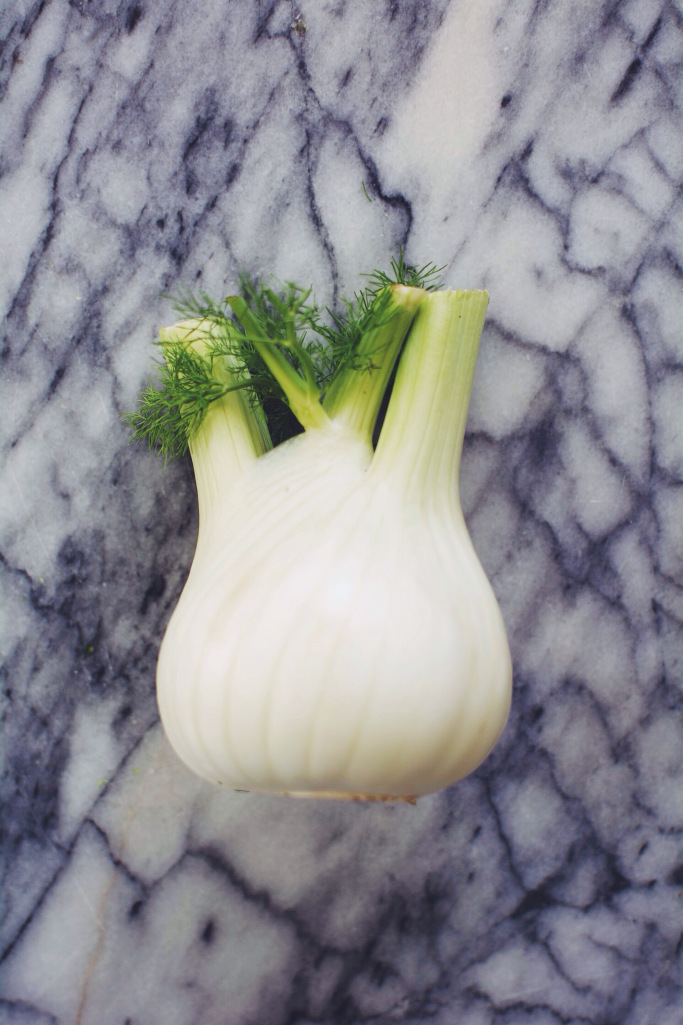
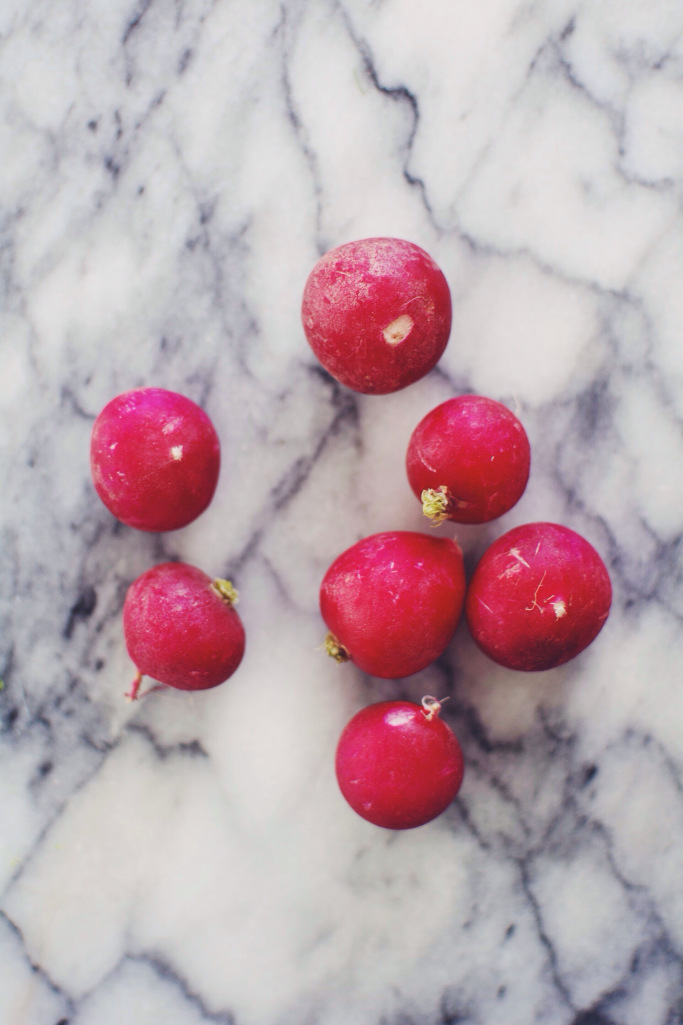
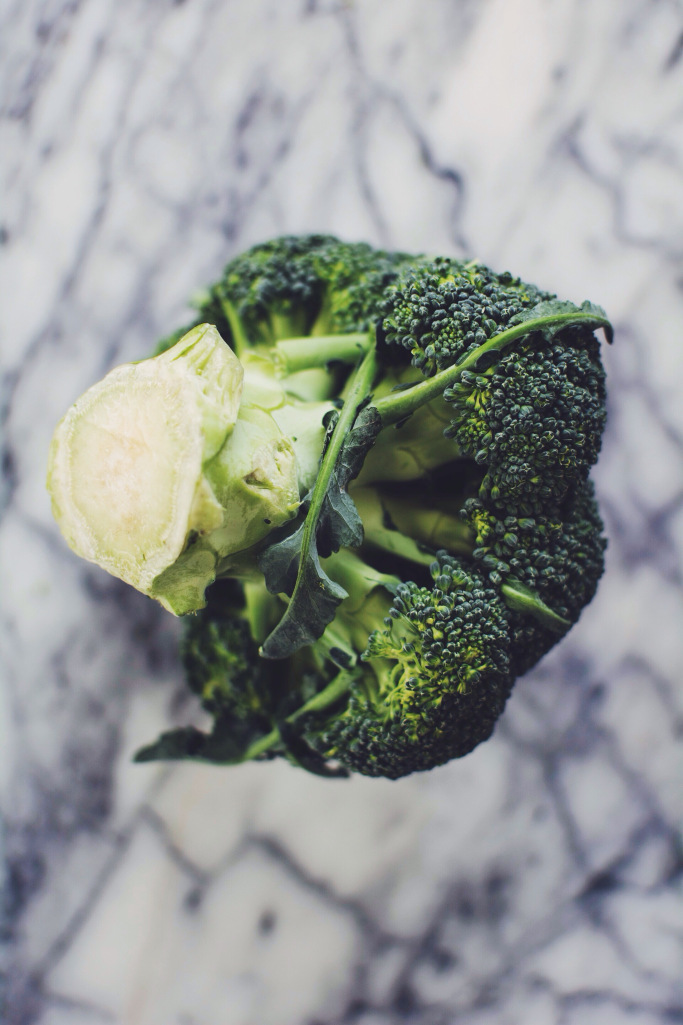
VEGAN FENNEL, RADISH + BROCCOLI SLAW
Serves 4
Ingredients
1 medium head of broccoli
1 large fennel
6-8 radishes
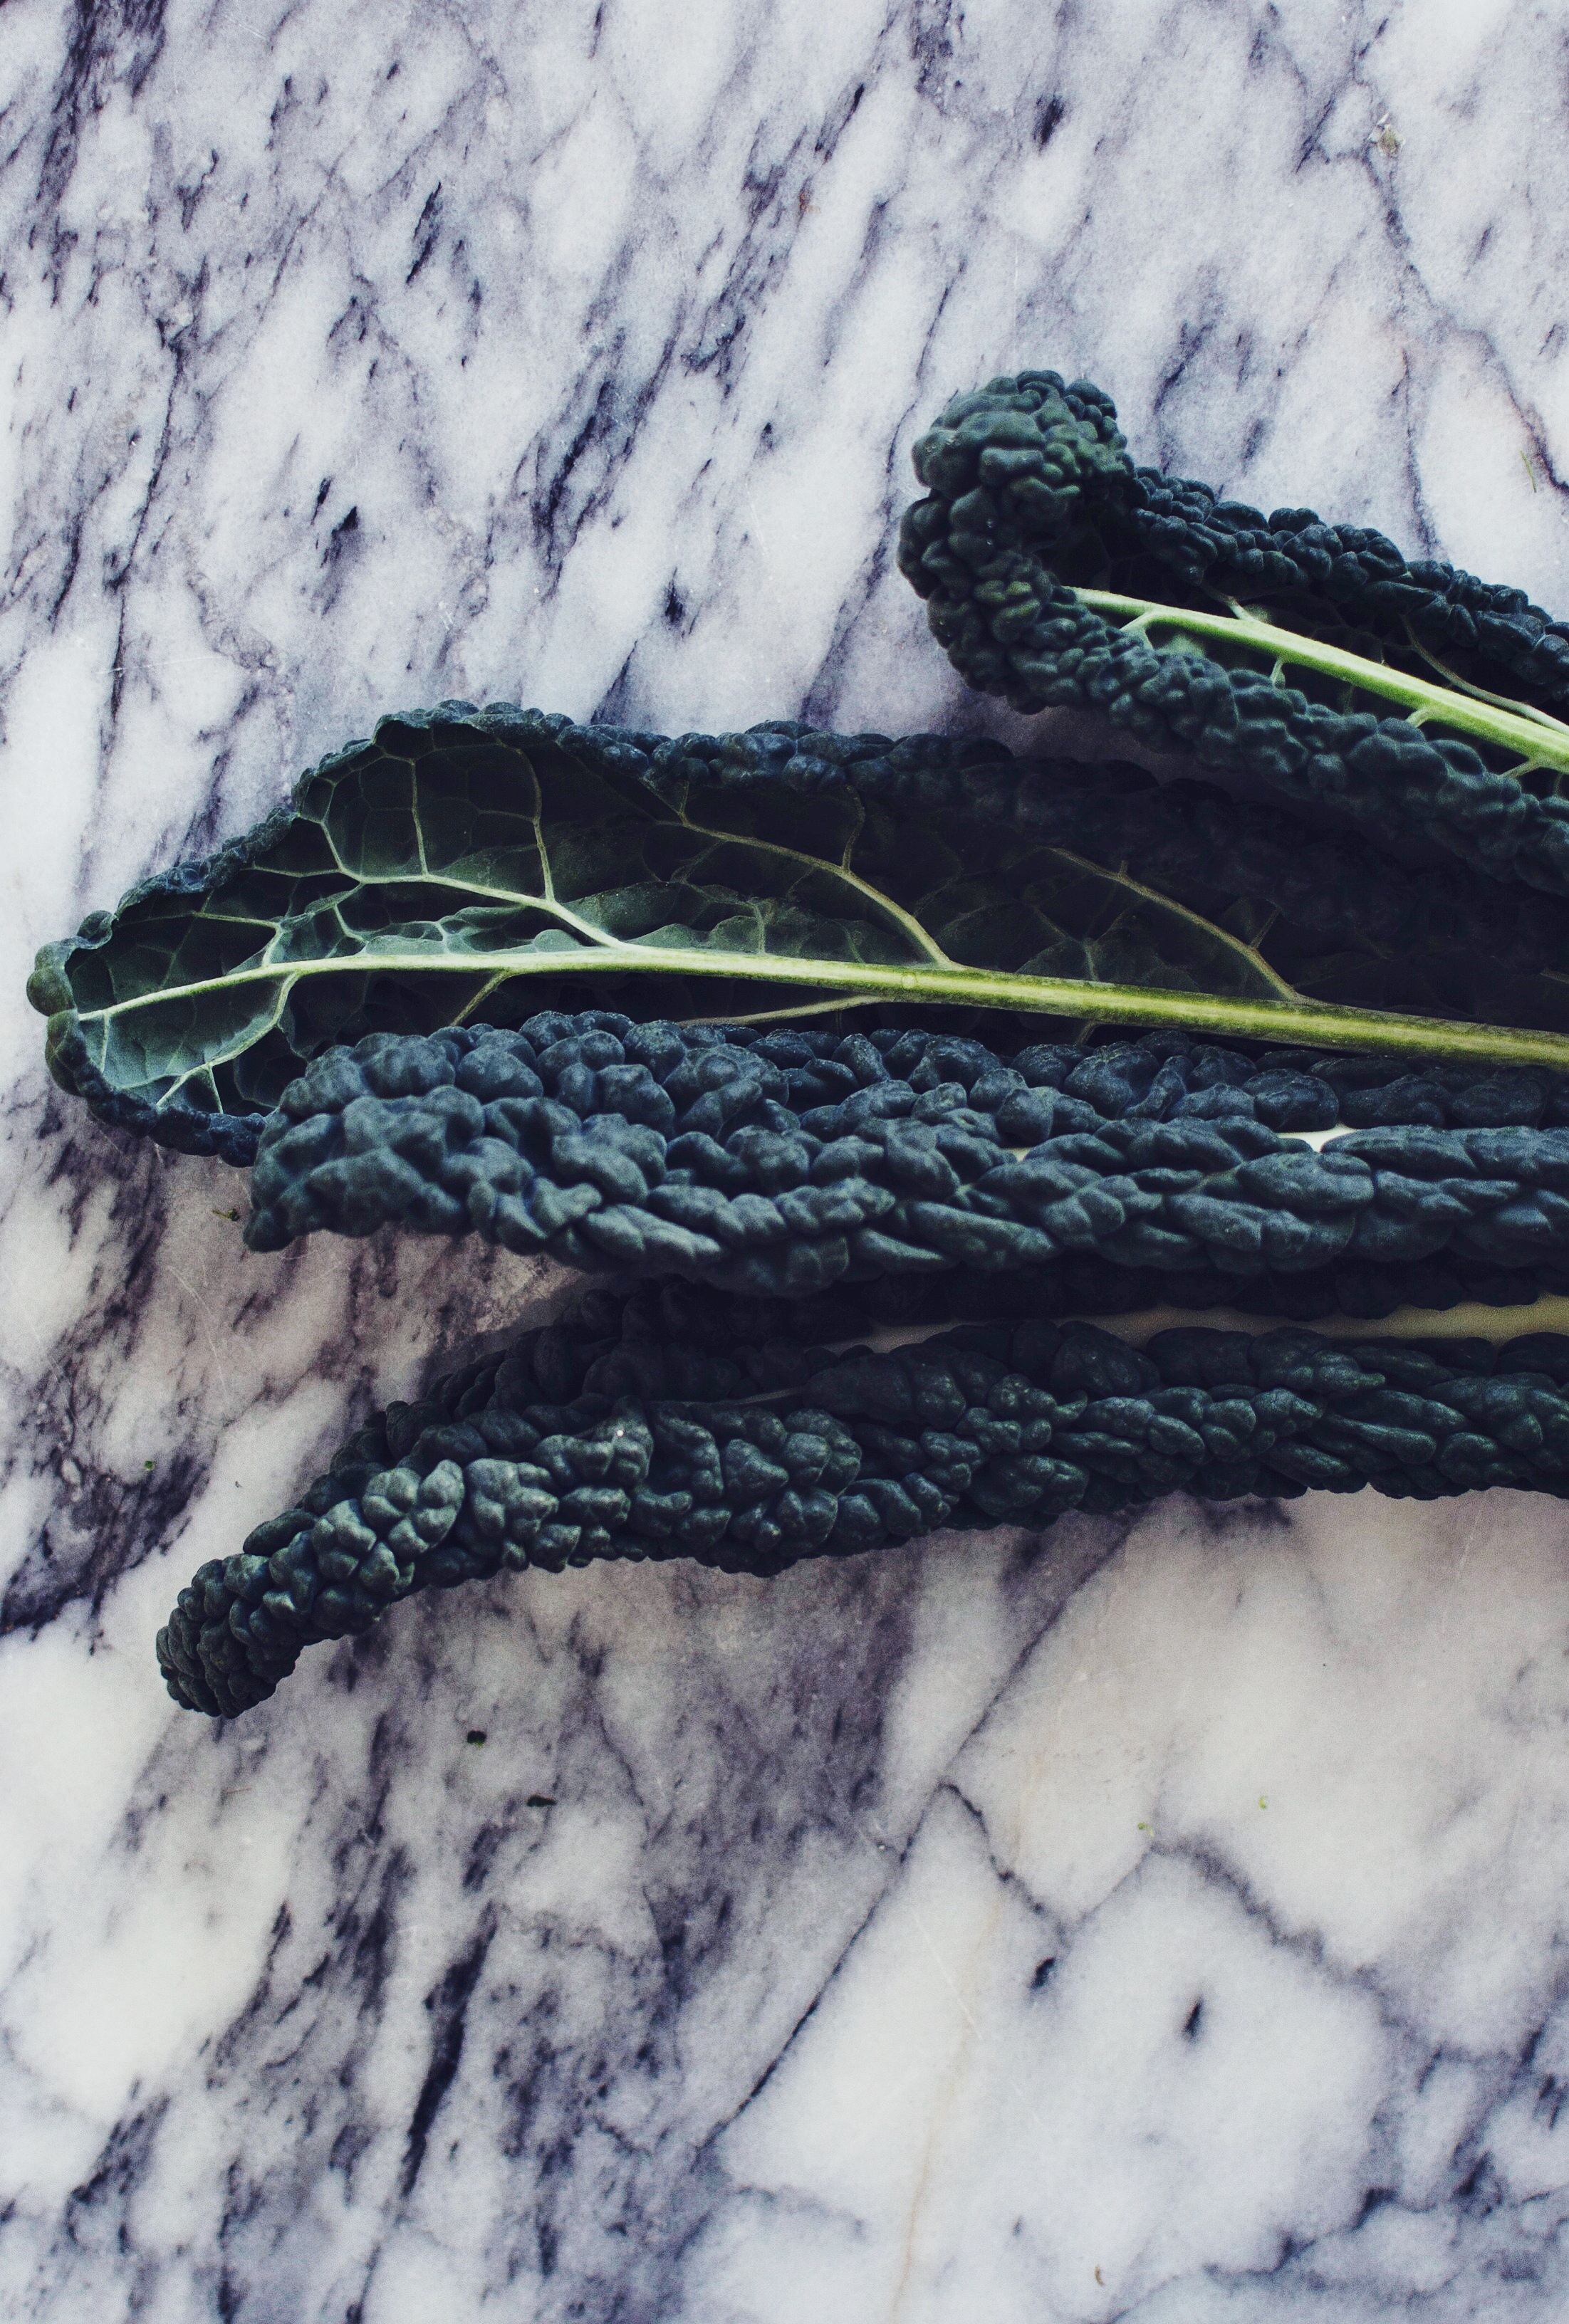
100g cavolo nero, stalks removed and leaves shredded
8 stalks of fresh dill
For the dressing:
60ml olive oil
30ml tahini paste
50ml soya, coconut or regular yoghurt
2tsp rice mirin or vinegar
Juice of 1 lemon
Method
- Using a mandolin if you have one will make putting this salad together a total breeze. If you don’t have one, then try and slice the fennel and radishes as finely as possible.
- Slice the fennel, radishes and broccoli using a mandolin and place in a large bowl. Add the shredded cavolo nero and tear in the fresh dill leaves.
- For the dressing add all of the ingredients to a jam jar and shake well until thoroughly mixed and creamy in consistency.
- Pour the dressing over the salad, toss well to coat. Season to taste with salt flakes and freshly ground black pepper.
- Serve on its own or in rye (or however you like) with extra fresh dill and a drizzle of extra olive oil.
Hello!
It has been some time, hasn’t it? But now I’m back and I can finally wish you a Happy New Year! I hope the first two weeks of 2015 have been wonderful to you.
I don’t usually set myself resolutions for the new year, but last year I inadvertently gave up smoking, and I can happily say it’s been a total blast breathing much more easily over the last 379 days. This year however, I made a conscious decision to add a few life goals to my list this year:
- I will eat well, consistently and be as eco-friendly as possible
- I will listen more and talk about myself less
- I will appreciate what I have right now instead of yearning for what I could have
and;
- I will make this miso-tahini soup once a week for the rest of my life AMEN
Ginger Miso Tahini Soup
Serves 4
Ingredients
500g medium squash, either butternut or coquina, cut into smallish pieces
1 tablespoon toasted sesame oil
Juice of half a navel orange
3 tablespoons miso paste
50g tahini
1 inch of ginger, peeled and minced
300-400g cooked brown rice
2 ripe avocados
Black sesame seeds
Method
- Arrange the squash pieces on a baking tray and drizzle with 1 tablespoon toasted sesame oil and the juice of half an orange. Roast in the centre of the oven at 220°c (200°c Fan) for 45 minutes.
- Add the miso paste to a bowl and add a couple of tablespoons of boiled water to loosen. In a large saucepan add the tahini, minced ginger and 500ml water and bring to the boil. Add the miso paste and reduce to a simmer for 5 minutes. Season to taste.
- To serve, distribute the brown rice evenly into four bowls and top with roasted squash. Pour over the miso-tahini broth, top with half a sliced avocado and sprinkle with black sesame seeds.
I travelled to New York twice last year to visit my brother, here are some photos from those trips.
I’m going to keep this one short and sweet because we’re all too busy with December to actually sit down and read anything of length right now. If it’s not after work drinks, some kind of Christmas themed event, dinner with friends or present buying then it’s decorating the tree, putting up Christmas lights and perfecting your mince pie recipe. If, and only if you have a spare moment, then it will certainly be to have a big glass of wine and watch shit tv. So, as I said… short n sweet.
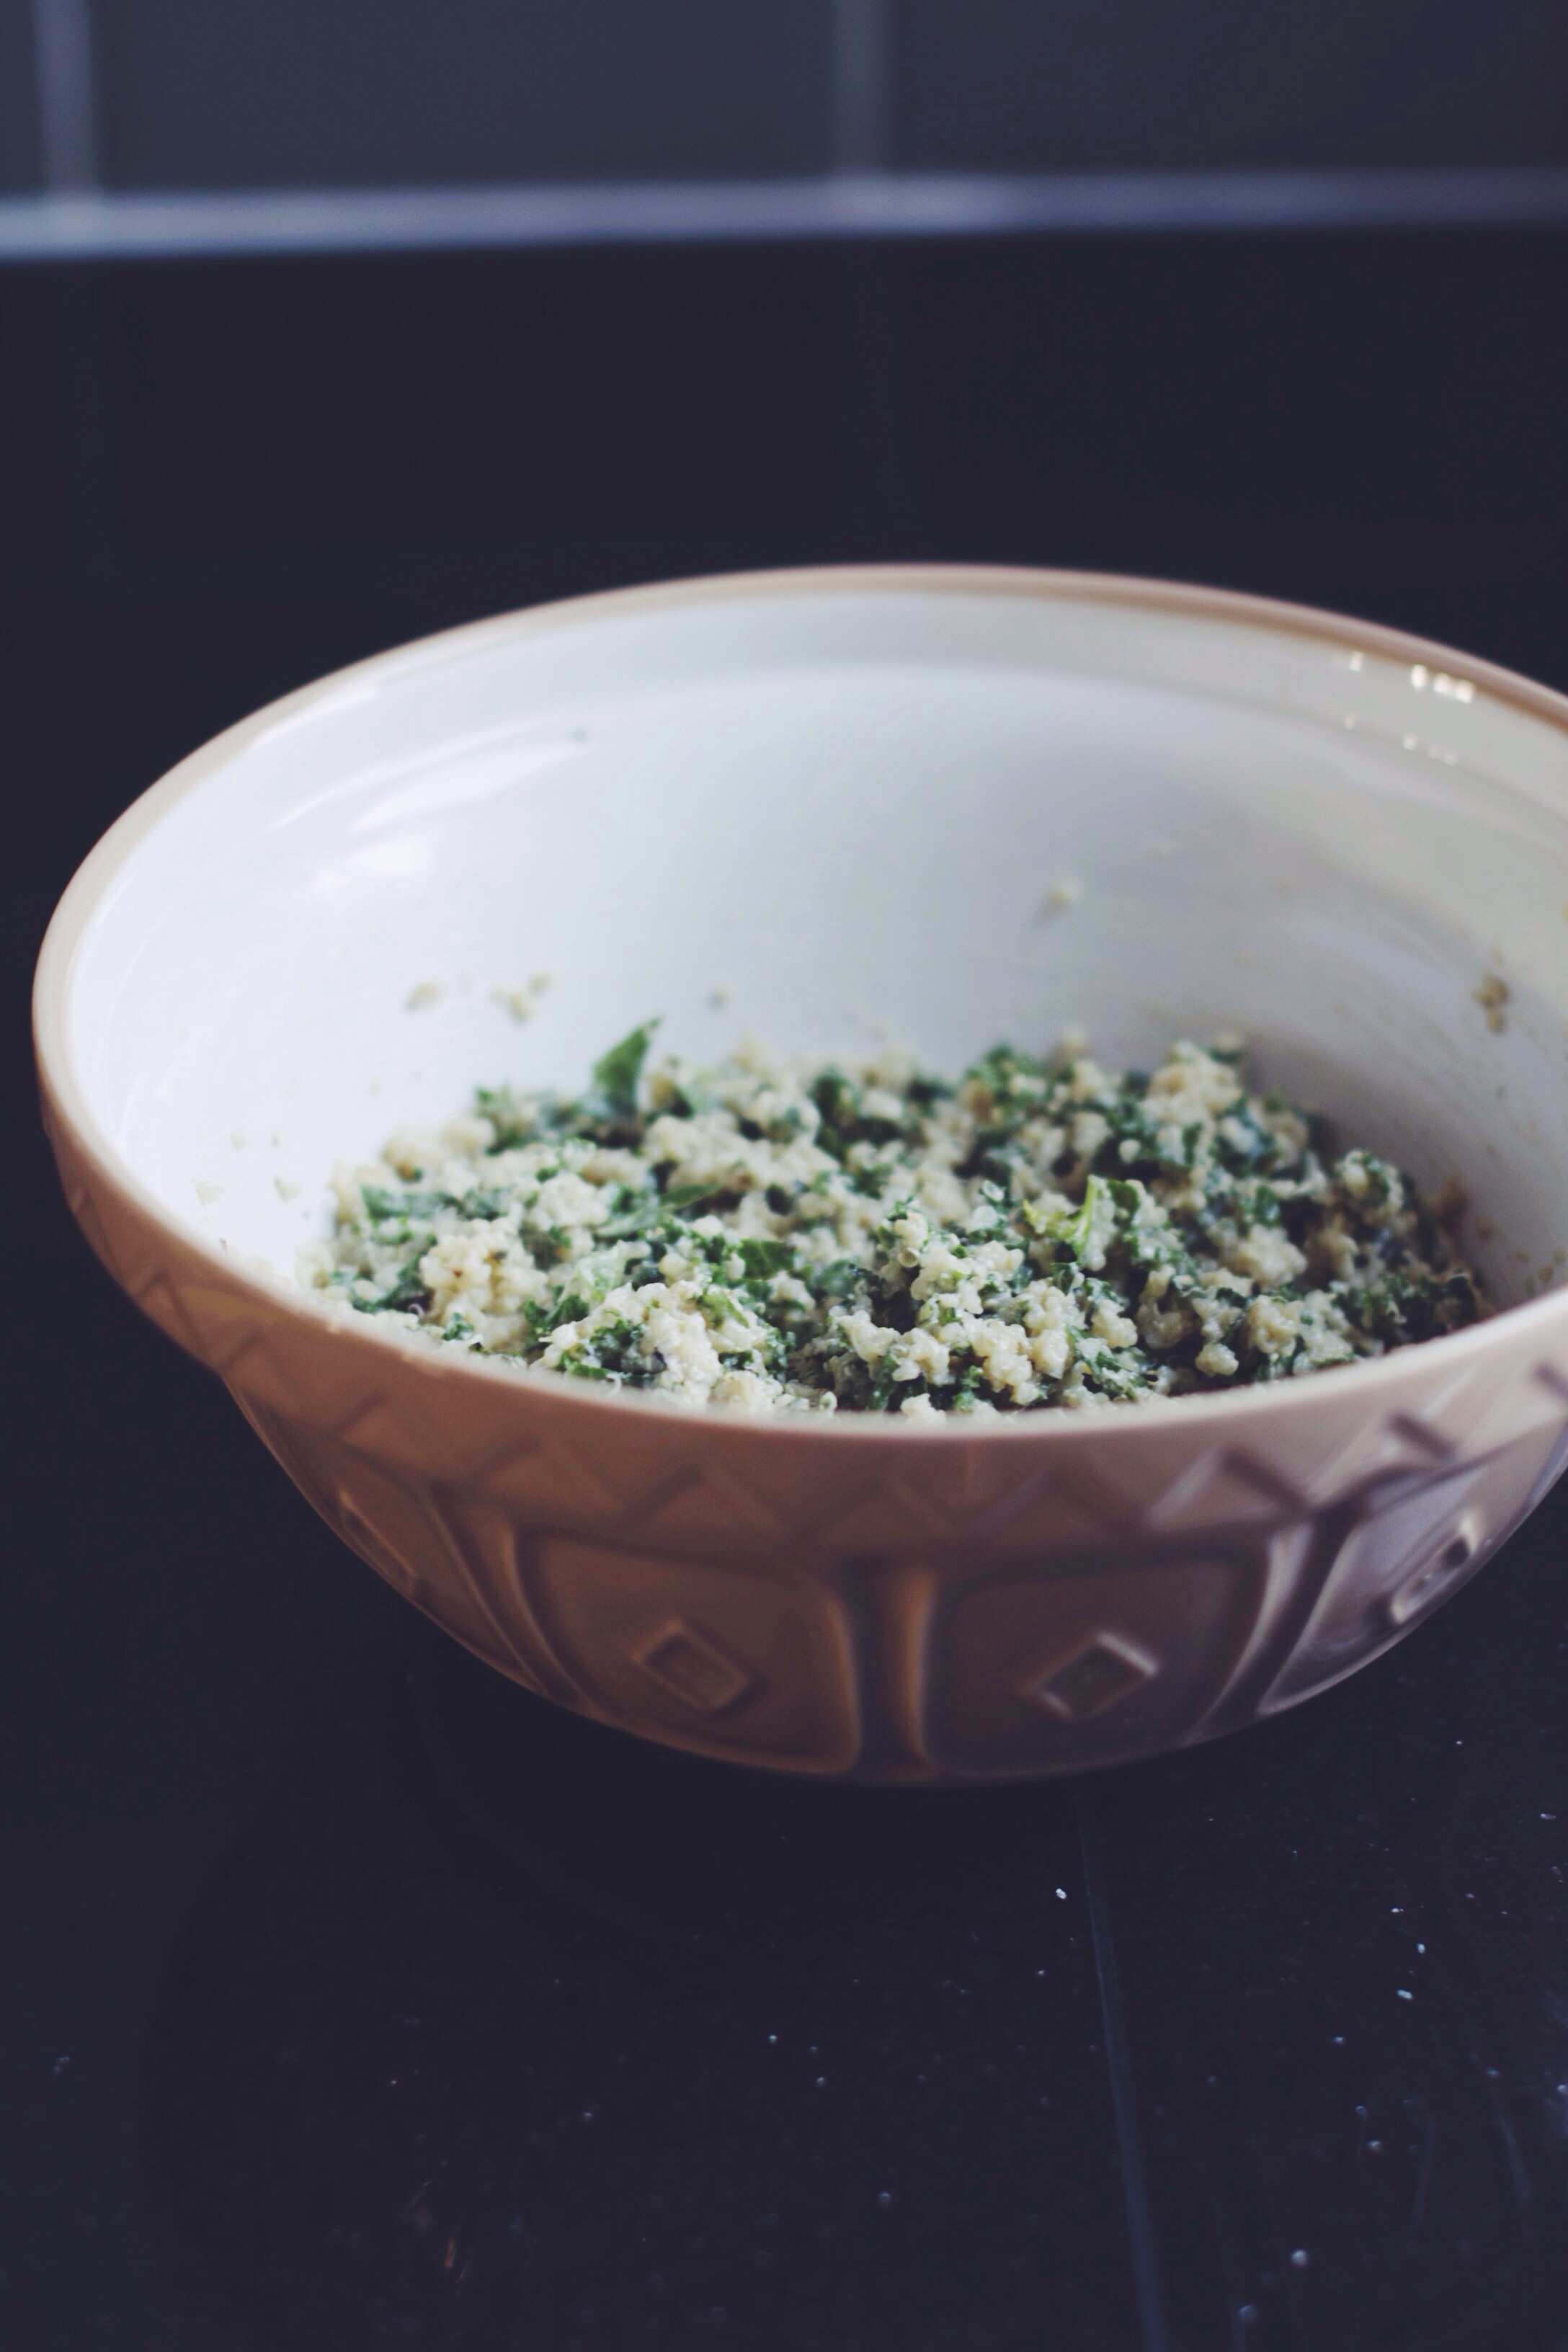
I originally saw this wondrous recipe on Green Kitchen Stories (i.e. my happy place on the internet, after Pinterest) and immediately wanted to recreate them in my own kitchen. I tweaked the recipe a fair amount, depending on what I had in my cupboards, and subbed out the cheese altogether in favour of a dairy-free option.
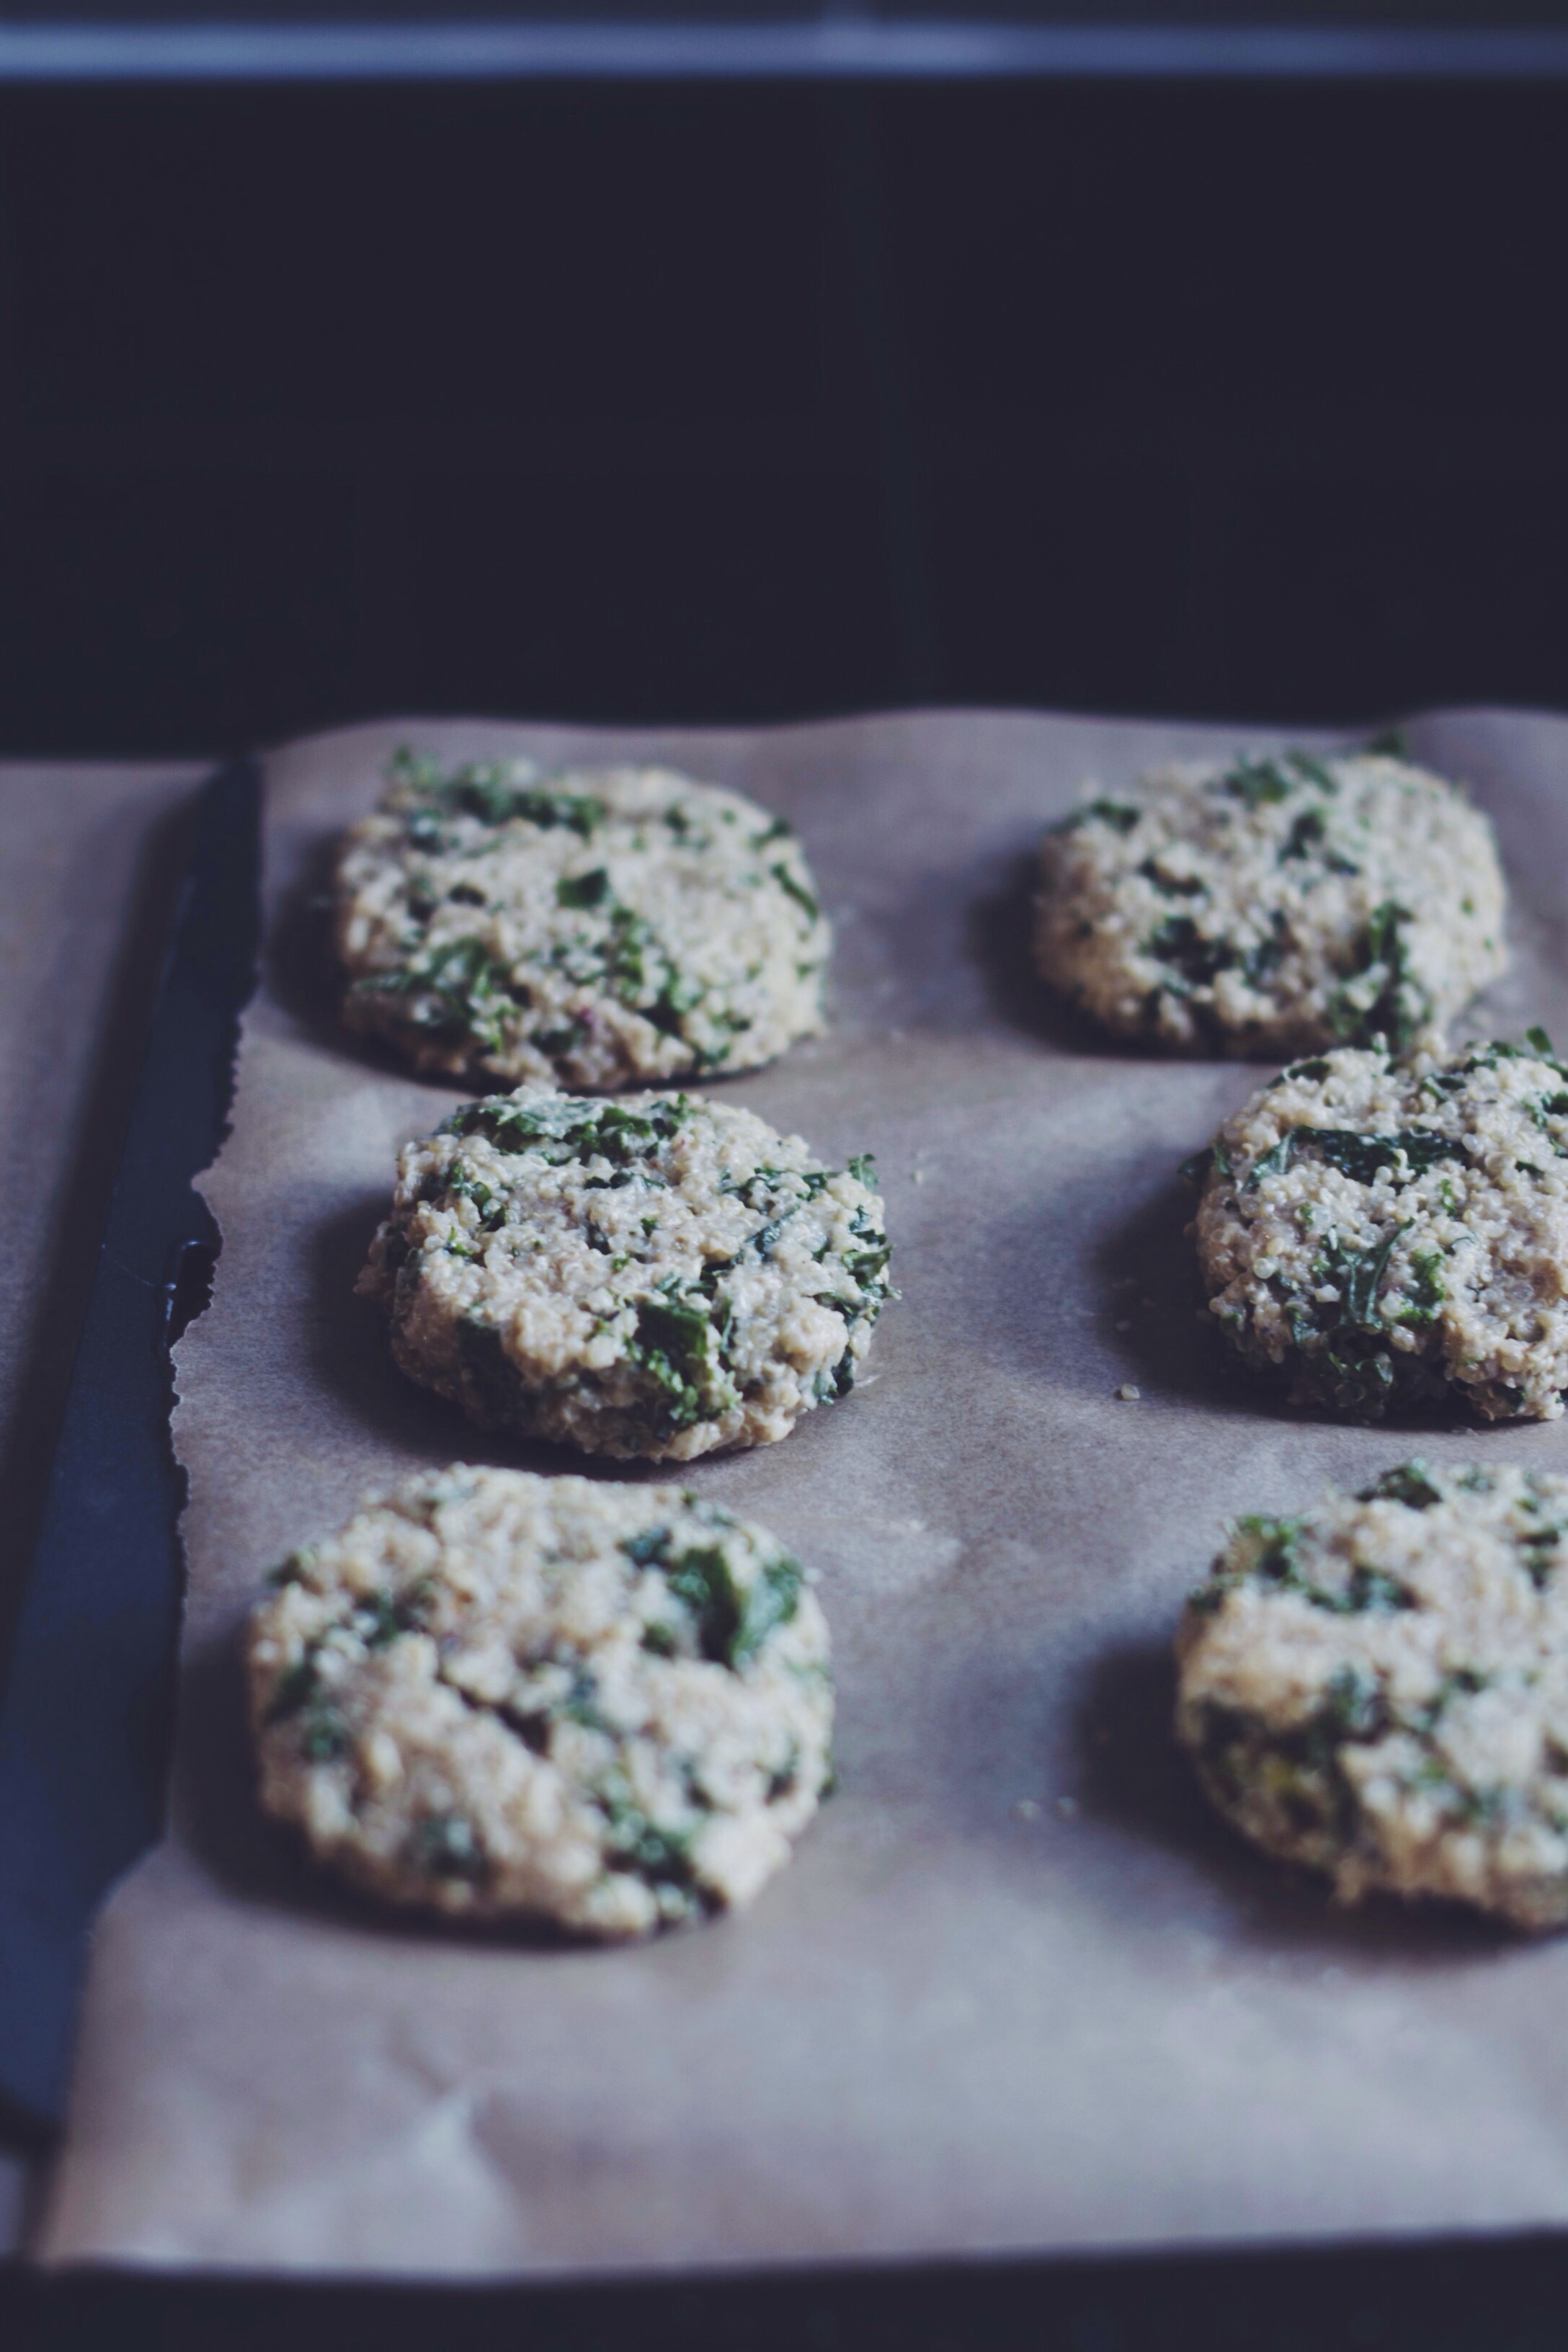
The resulting quinoa patties are delicious little additions to add to any base for lunch or dinner; I enjoyed them with a simple cabbage salad one day and hummus and carrot sticks the next. Plus if you have leftover quinoa to begin with then these can be made in a snap.
Happy December!
QUINOA + KALE PATTIES
Makes 8 patties
Ingredients
200g quinoa
500ml water
Pinch of salt
2 large handfuls of kale, stems discarded
2 eggs
100g silken tofu
1 teaspoon dried chilli flakes
1 tablespoon dried oregano
Olive oil for frying
Method
- Star by cooking the quinoa; rinse 200g under cold water then add to a saucepan with 500ml of water and a pinch of salt. Bring to the boil, then reduce to a simmer and cook for around 20 minutes. Remove from heat and set aside to cool.
- Once cool add the quinoa, kale leaves, eggs and tofu to a large bowl and mix well with your hands. Season generously and add the dried chilli and oregano. Pat down the mixture in the bowl and transfer to the fridge to set, around 30 minutes.
- Shape the quinoa into 8 patties using your hands. Heat a few glugs of olive oil in a large pan and cook the patties in batches, around 4-5 minutes on each side or until golden and crisp.
- Serve warm with a simple salad or perhaps a poached egg.
Notes -
By all means substitute the tofu for feta if you aren’t avoiding dairy. If you are following a vegan diet you could try using 200g silken tofu in place of the eggs as a binding agent.
It’s officially that time of year again; the lights are up, the ads are out, the nights are getting boozier… it’s Christmas whether you like it or not.
Sure, some might say it’s a bit early to get the Christmas paraphernalia out, but I for one am all over it – give me a gingerbread latte with a shot of whisky and I’ll be marvellously content cozied up in my Slanket* with Home Alone 2 on repeat.
(Also, December: the only month where you can get fat gracefully.)
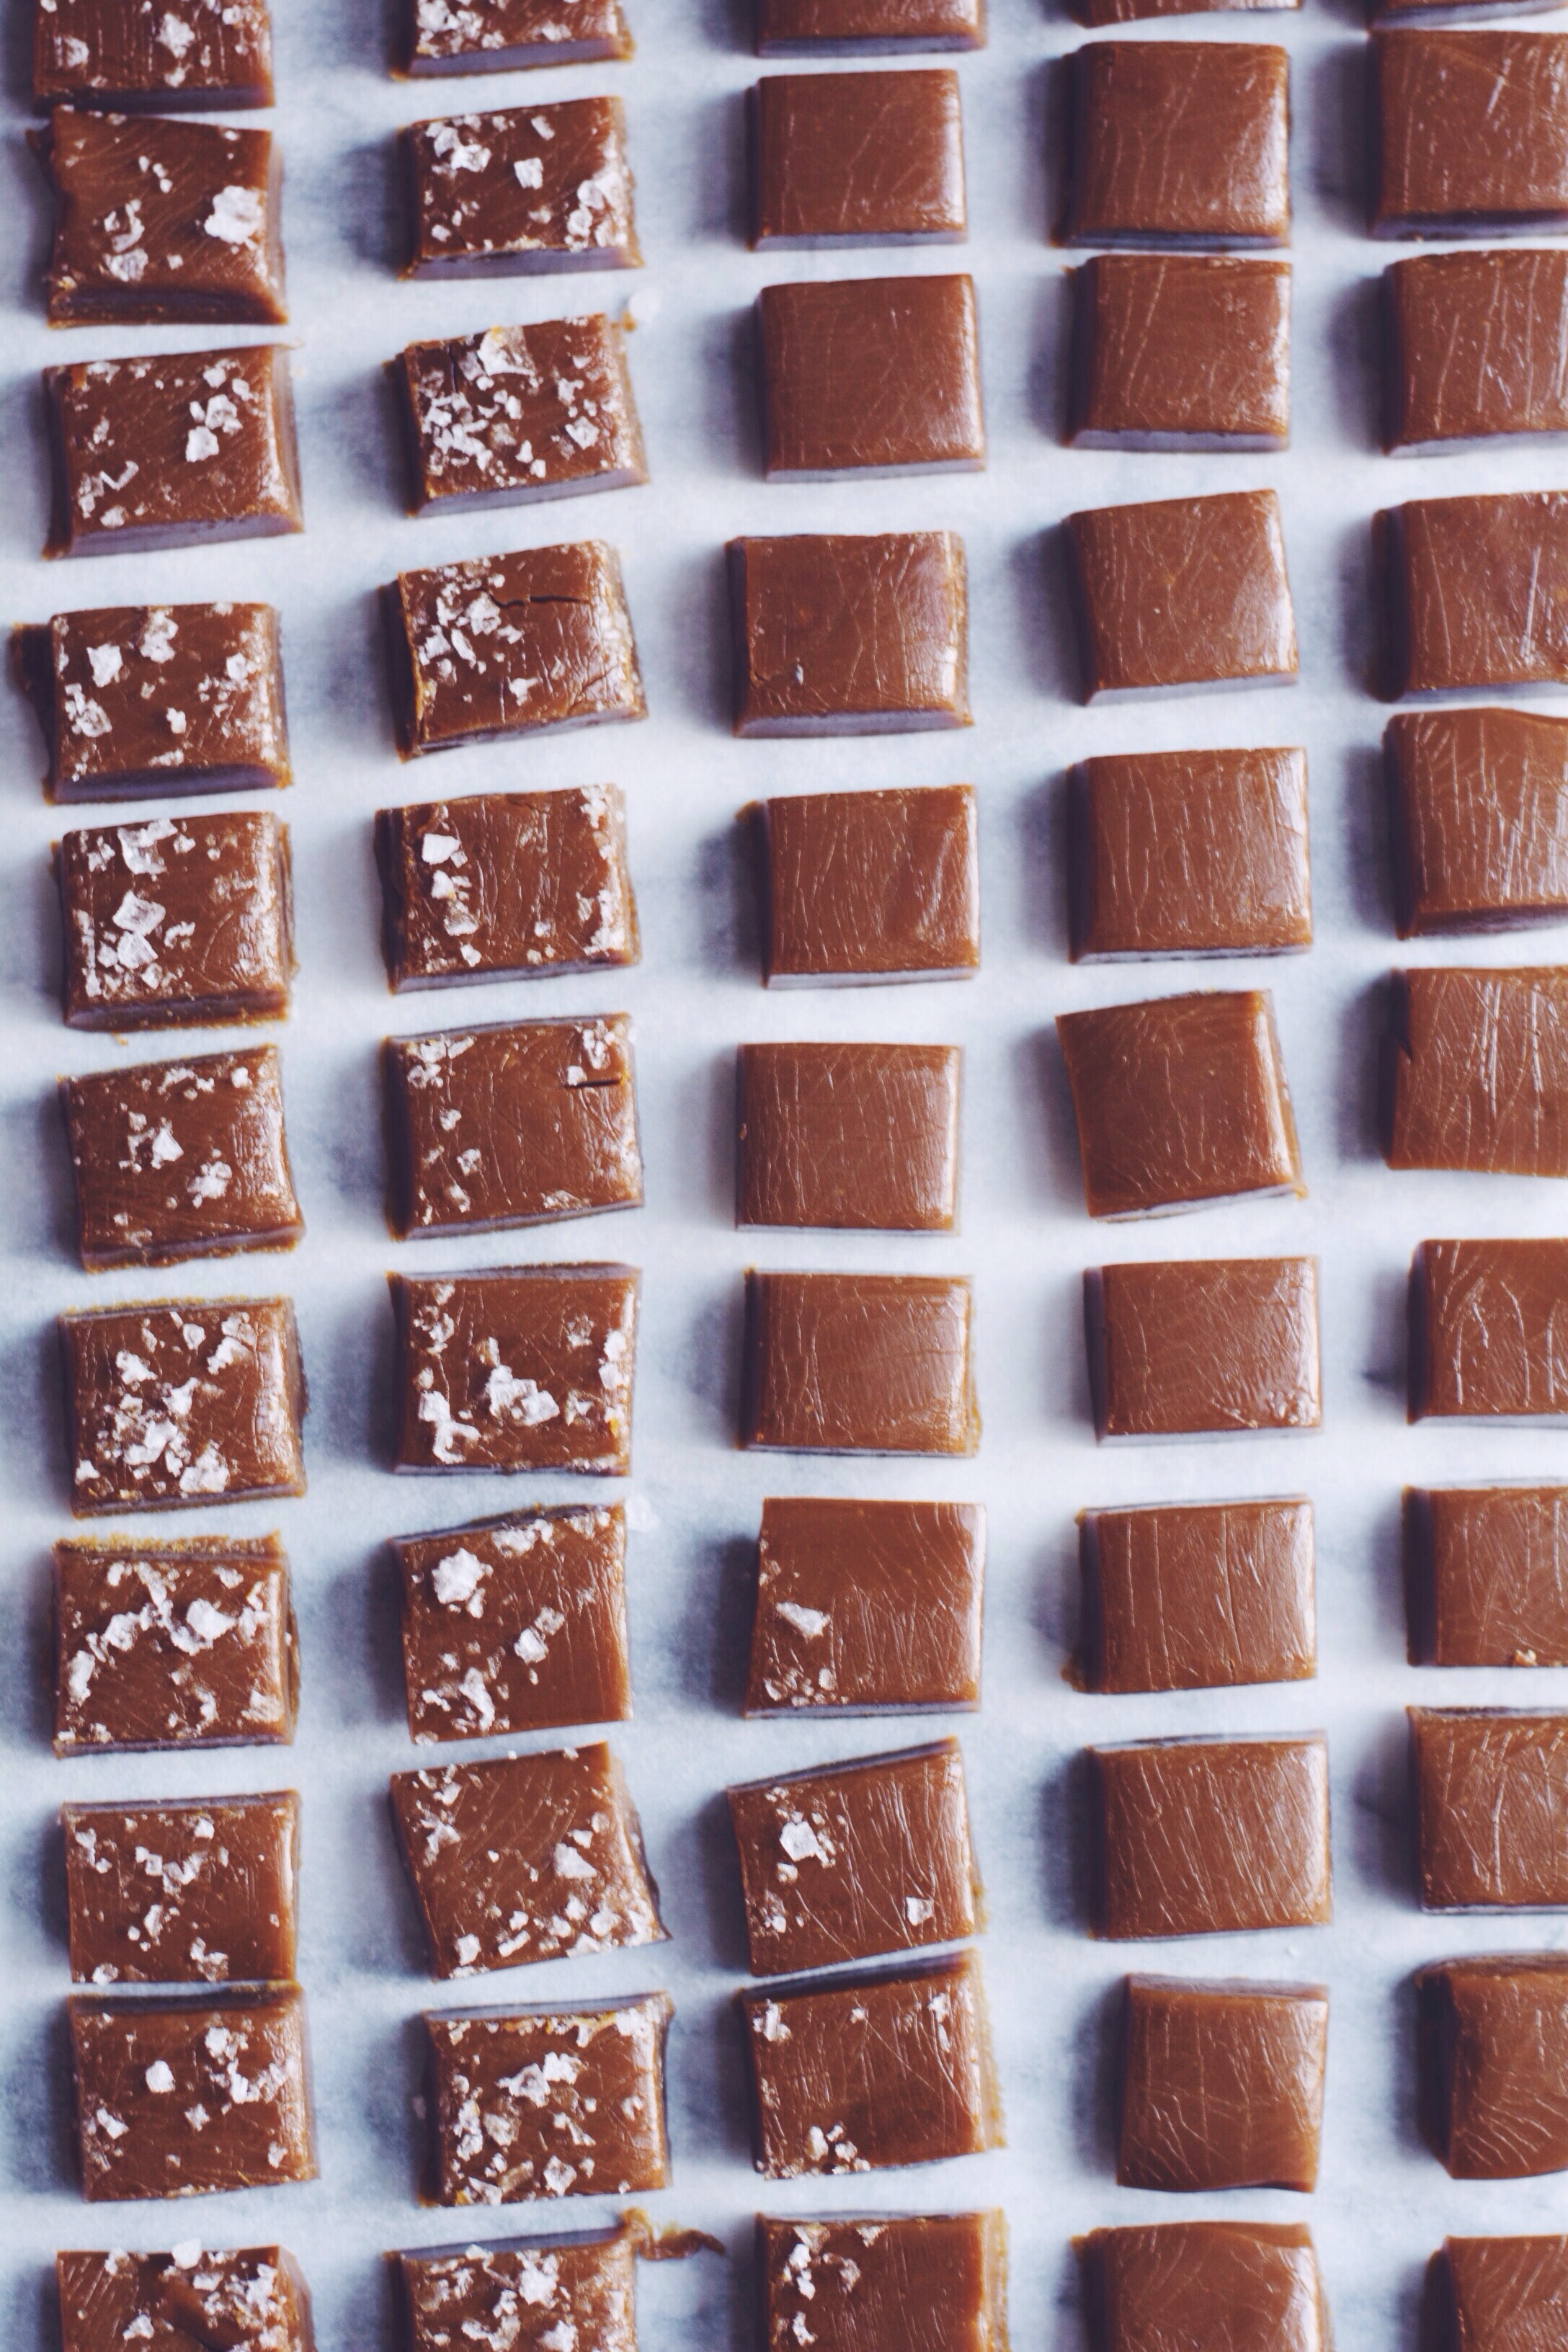
You may remember last year I posted a similar recipe and moaned about how broke I tend to be at this time of year (I absolutely needed three of those cashmere jumpers, didn’t I), so it’s fair to say I get a little resourceful with my gift giving. Enter these beauties, chocolate covered and deliciously decadent. These really aren’t as daunting as they may seem, it’s more a case of patience and trying not to burn yourself, the caramel, or your pan.
So there you have it, I’ll leave you with this bomb recipe to add to your budget Christmas 101 repertoire – plus a pretty great soundtrack to go with it (courtesy of Cereal Magazine)
*the best gift ever received, not giving it up never ever ever
Dark Chocolate Covered Caramels
Makes 60 caramels
Ingredients
150g soft light brown sugar
125g golden syrup
100g unsalted butter, cut into cubes
250ml thick double cream
150g caster sugar
200g dark chocolate
Decorative sugar pieces (if using)
Method
You’ll need a candy thermometer for this recipe.
- Firstly prepare a tin for your caramel to set in by lining it with parchment paper.
- In a pan add the brown sugar, golden syrup, butter and cream and place over a low heat. Heat the mixture until smooth and hot, stirring occasionally. Remove the pan from the heat and set aside.
- In a heavy duty pan add the caster sugar and 3 tablespoons of water, and start to dissolve over a low heat. Once dissolved you can bring the heat up a little, keep melting the sugar syrup until it caramelises and turns amber in colour. NOTE: You don’t want to stir the syrup unless there are specific spots where the sugar isn’t melting, rather whirl the pan.
- Once the sugar syrup has caramelised and turned a gorgeous dark amber colour, remove the pan from the heat and pour in the cream mixture, while exercising caution – this stuff is H O T.
- Put the pan back on the heat and pop your candy thermometer in. Bring the mixture up to 260°f and then immediately remove from the heat and pour into your prepared tin (if you fancy it you can sprinkle all or half with salt flakes).
- Leave (out of the fridge) for at least 5 hours or overnight before cutting into small squares.
- To chocolate coat the caramels, melt the dark chocolate in a glass bowl set above a pan of simmering water. Once melted, use a fork to dip a caramel square into the chocolate, then lift it out and let the excess chocolate drip off. Place the square on parchment paper to set, and decorate with sugar pieces if using. Continue with the rest of the caramels.
These will keep for a good 2 weeks stored in an air-tight container.
As if the weather Gods had heard my silent pleas for winter, it rocked up all bold and cold over the weekend. It’s officially sweater weather and to celebrate this momentous occasion I’m wearing the fluffiest jumper I own and plotting my first PSL of the season, all while scrolling through Halloween decorating ideas on Pinterest.
I’m also getting ready for an even colder climate, because this weekend I’m flying to Toronto for my annual poutine fix and cousin’s wedding where I’ll be one of her bridesmaids and official joker – ah, the good ol’ English accent… gets ’em every time.
Also can I just say how giddy with excitement I am about experiencing my first Thanksgiving on Canadian soil? So giddy.
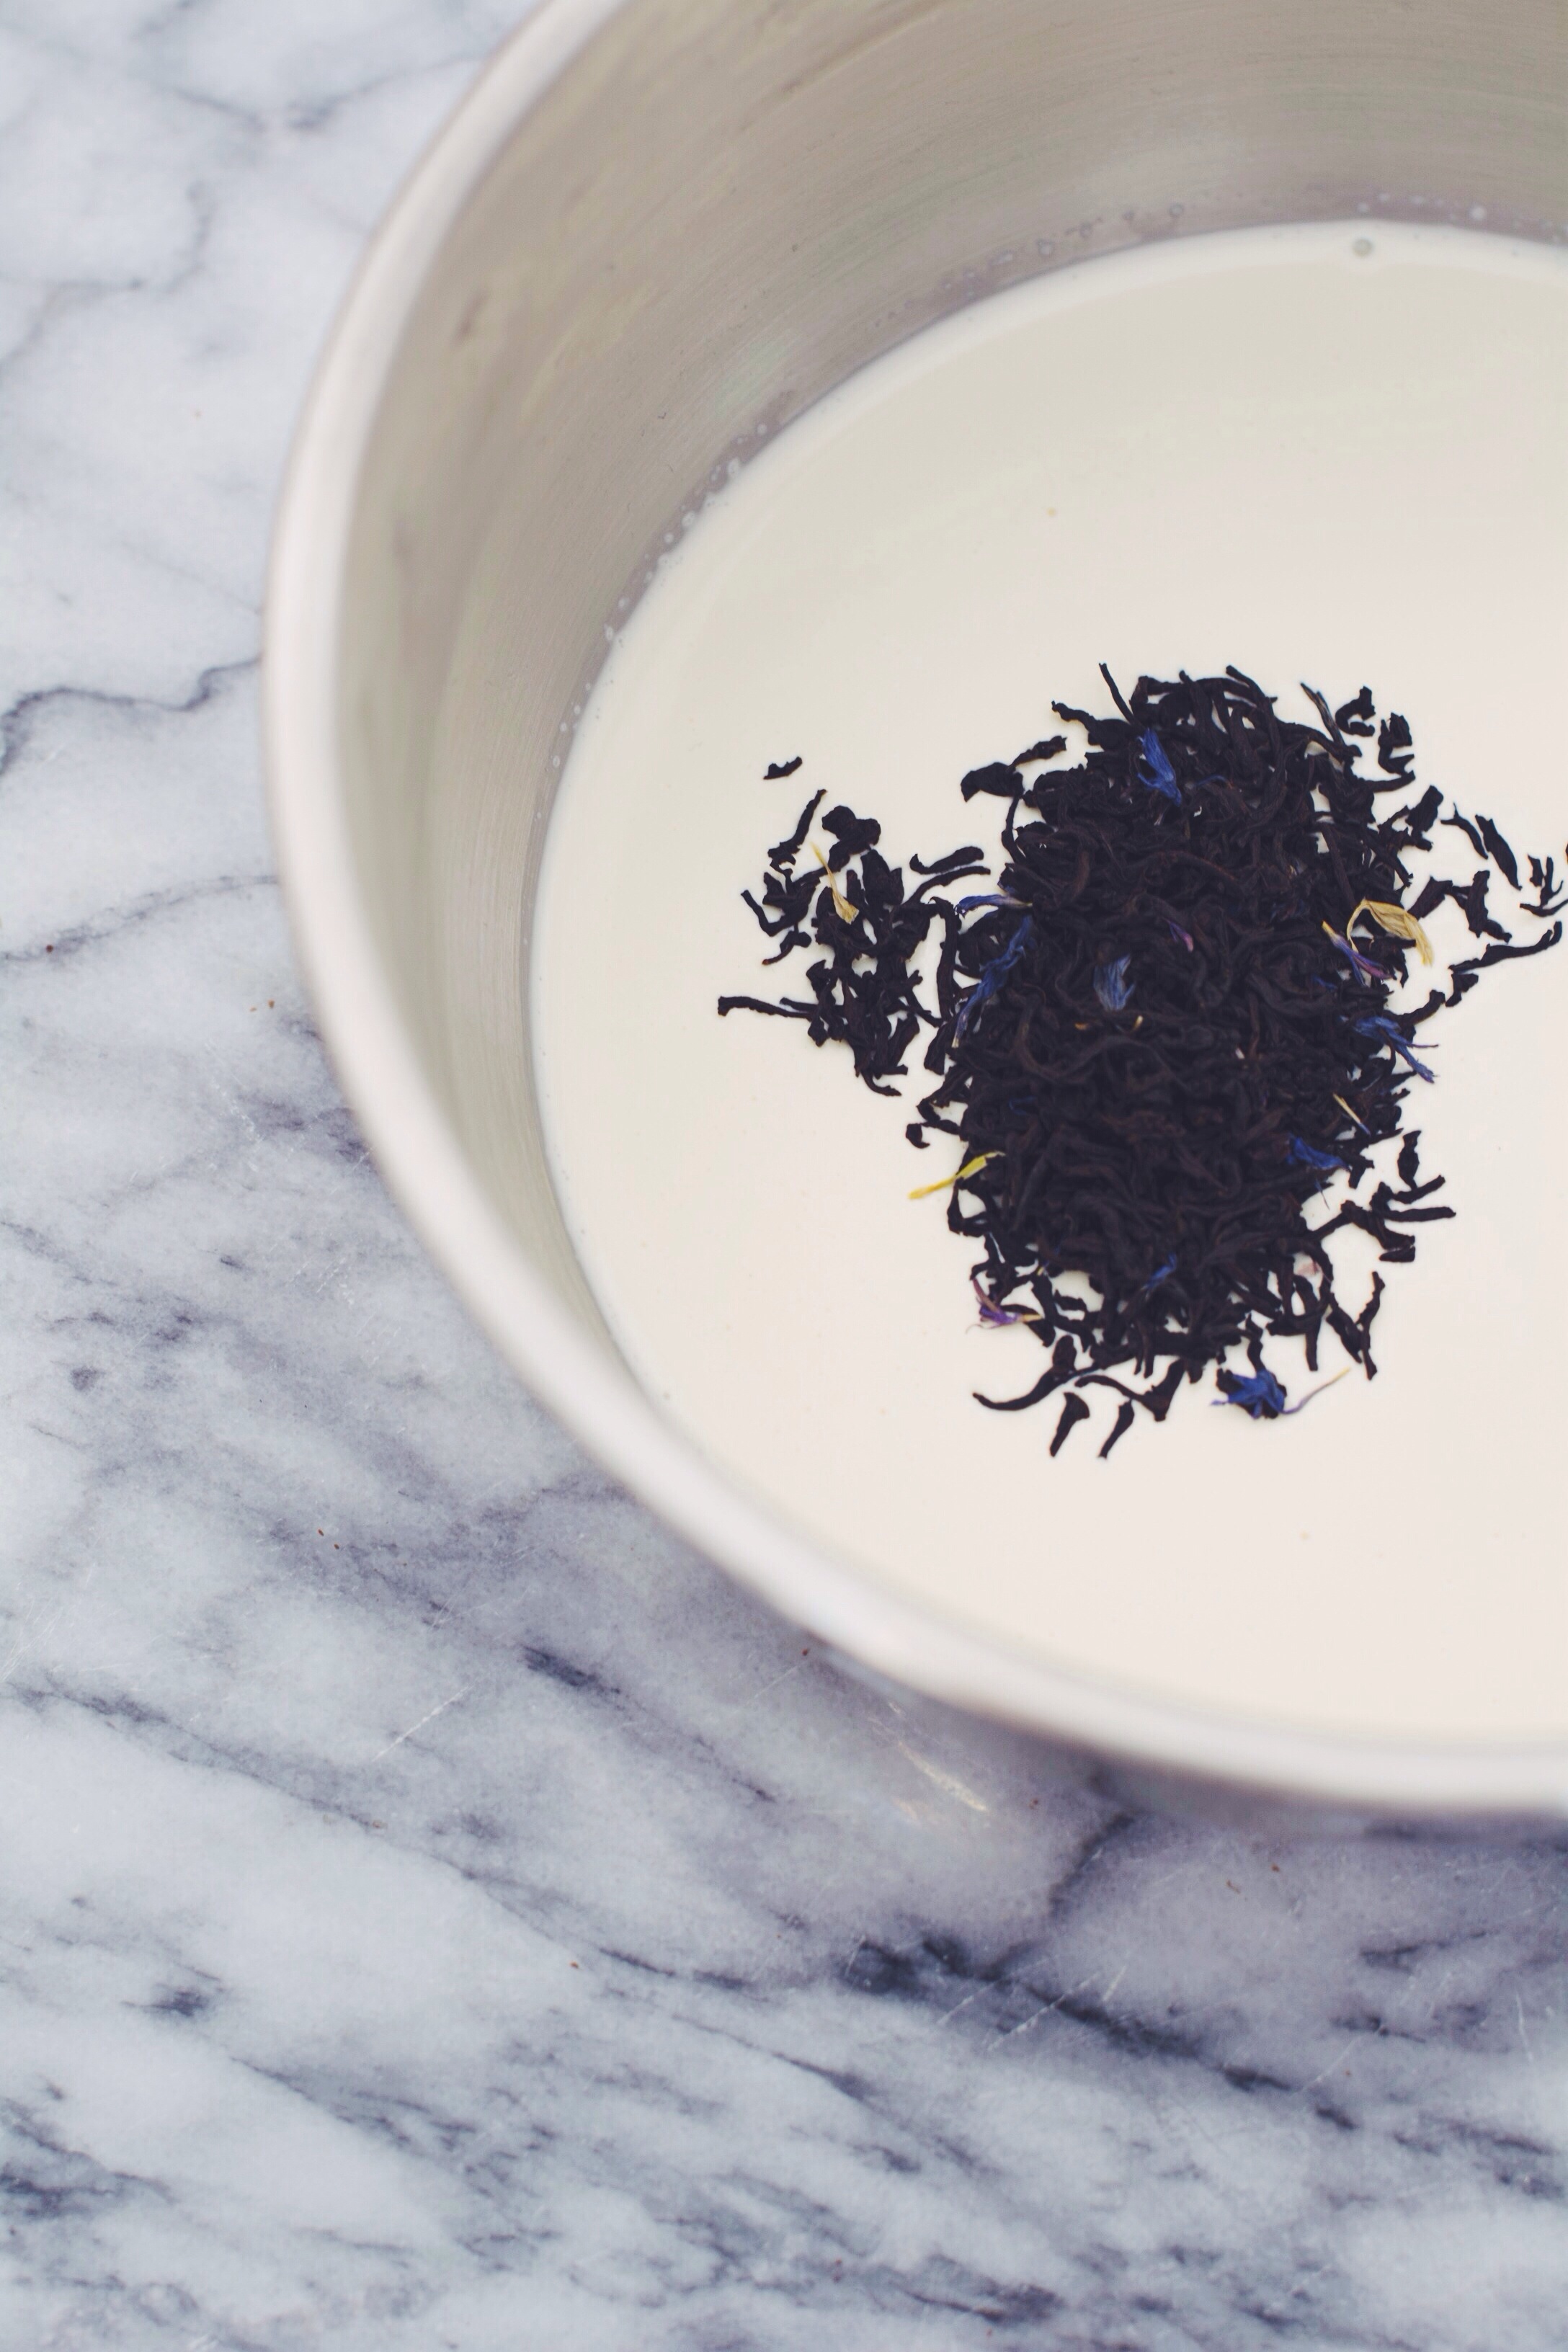
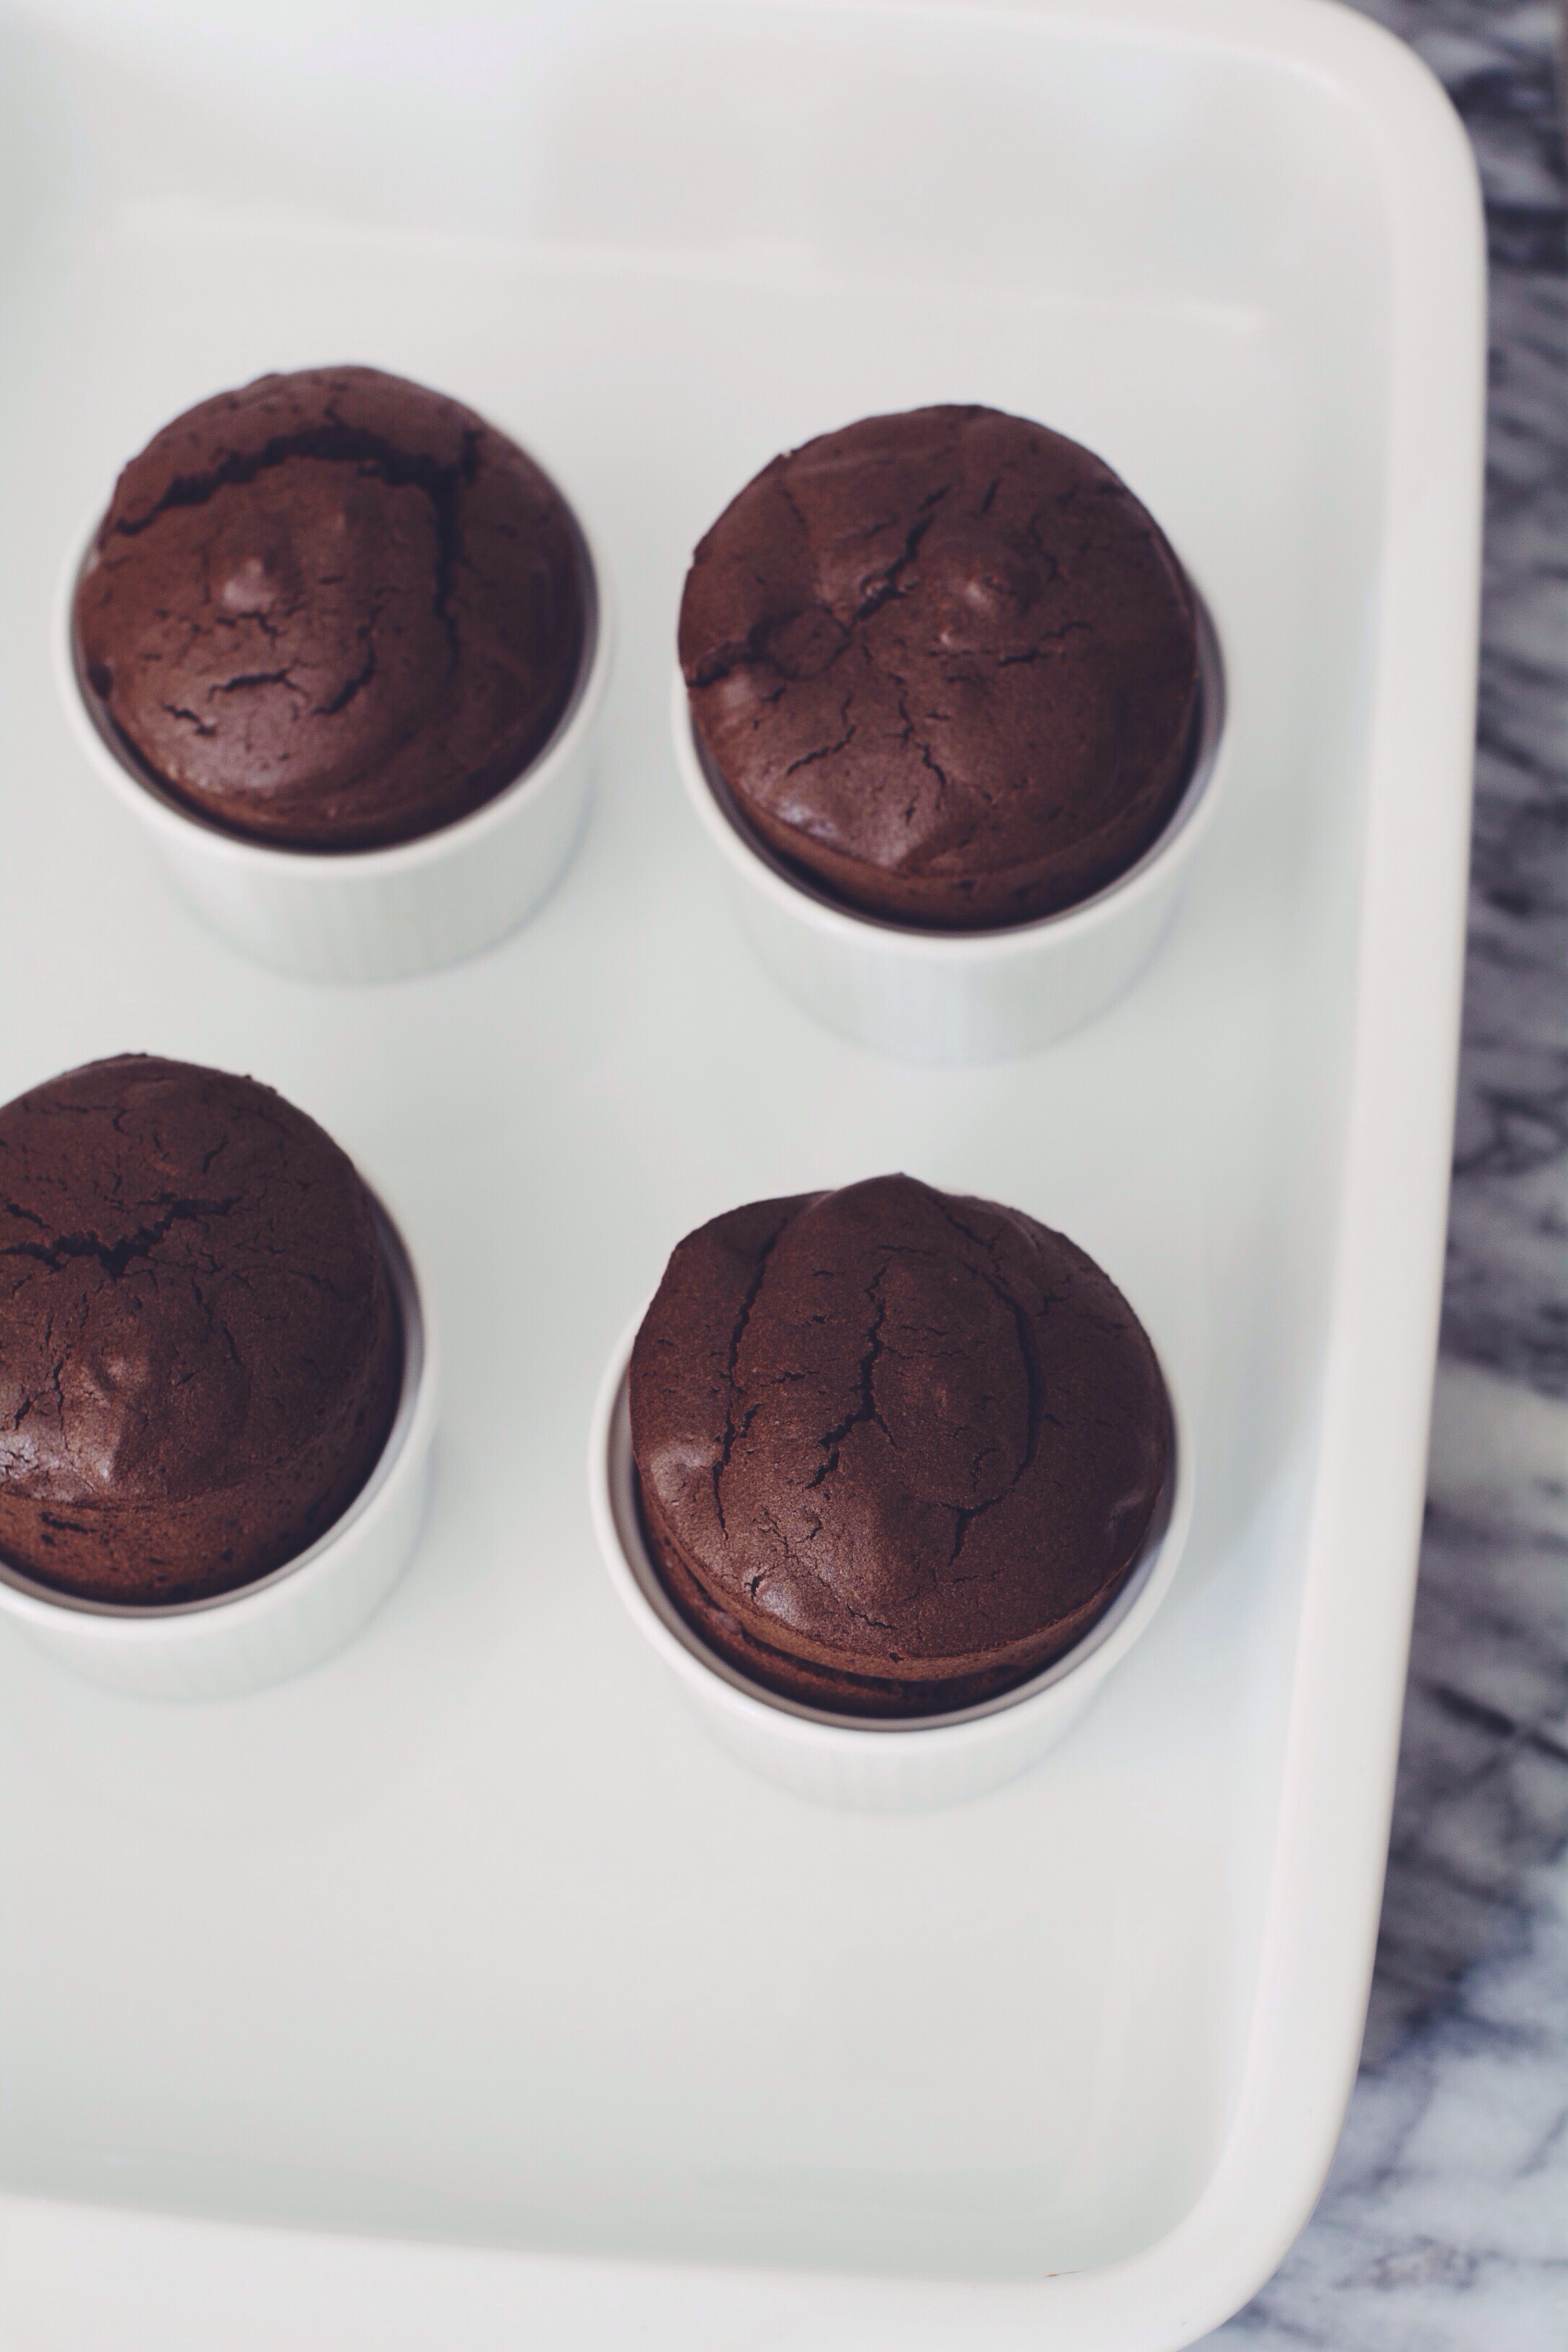
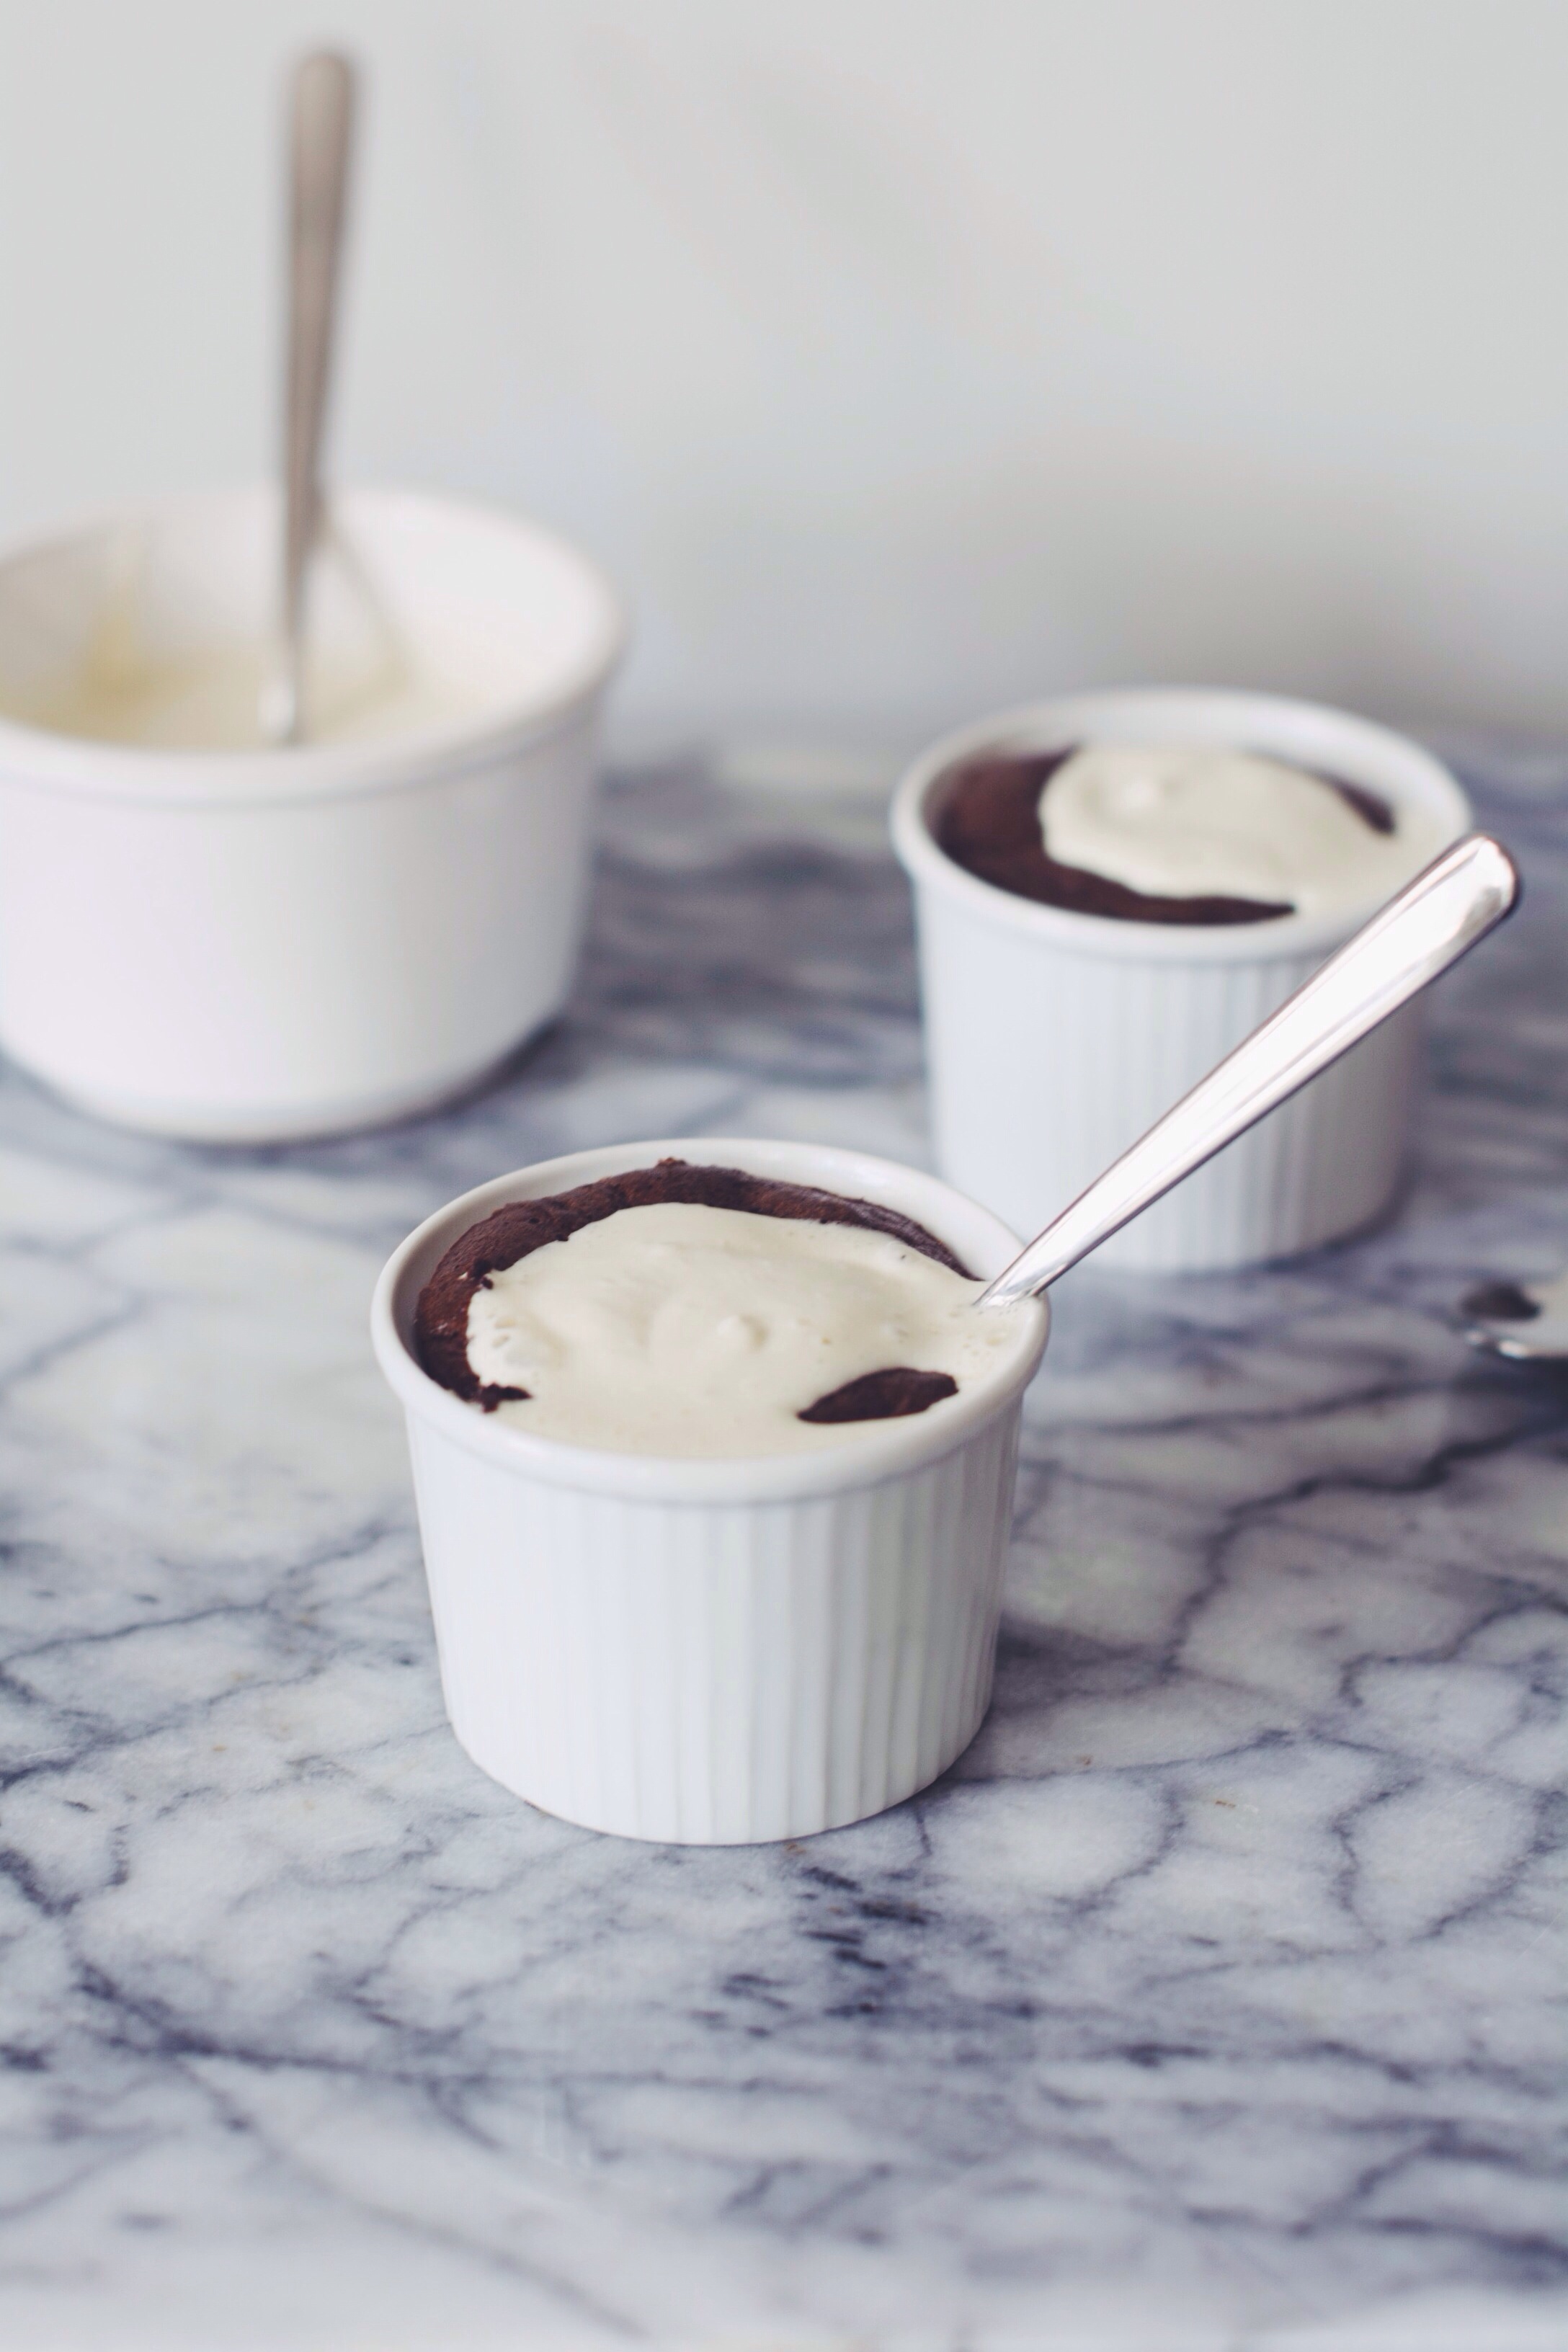
In other news I baked these little pots of indulgence over the weekend, and let me tell you, they are G O O D. No – better than good, they are fantastic. Why? Because they are fudgey, sweet but not too sweet, and look impressive when they emerge from the oven grandiose and soufflé-like. Plus they’re flourless, take minimal time to make, and that Earl Grey cream? Decadence just got the British treatment. We so fancy.
I’ve got to be honest though, up until a couple of months ago I wouldn’t have dreamed of drinking black tea let alone putting it in cream, but then I was introduced to the world of JING and all of their wonderful teas, and I’ve been drinking it ever since.
Flourless Chocolate Pots + Earl Grey Cream
Make 4 chocolate pots
Recipe adapted from The Artful Desperado – Flourless Dark Chocolate Souffle with Earl Grey Cream
Ingredients
200g dark chocolate
60g unsalted butter
4 eggs
50g caster sugar (plus 2 tablespoons)
1/2 teaspoon vanilla bean paste or extract
1 tablespoon JING loose leaf Earl Grey
120ml whipping cream
Method
- Preheat oven to 180°c (160°c Fan) and butter 4 deep ramekins.
- Roughly chop the chocolate and place it in a bowl with the butter over a pan of simmering water (making sure the bottom of the bowl isn’t touching the water). Heat gently until melted then set aside.
- Separate the eggs into two bowls. Start with the yolks; add 50g of sugar and the vanilla extract and whisk until pale and fluffy – a few minutes.
- Add 2 tablespoons of sugar to the whites and whisk until soft peaks have formed.
- Add the yolks to the chocolate and mix to combine, then fold in the whites in two or three batches.
- Pour the mix into your prepared ramekins and bake in the centre of the oven for 20 minutes.
- While the chocolate pots are baking make the Earl Grey cream. Add the loose leaves to the cream and heat on low until the cream is hot but not scalding. Pour the cream into a bowl and refrigerate for 10-15 minutes.
- Pass the infused cream through a sieve to remove the leaves, then beat until lightly whipped.
- Serve the chocolate pots hot out of the oven with a dollop of cream.
Updated 17 Oct 2021
I’ve been making a mental list of things that I want to start doing when I move out into my own home. On this list there are projects and purchases, little gestures that I truly believe will make my life that bit more beautiful. I imagine becoming less reliant on supermarkets for our fruit and vegetables, instead taking the time each week to visit the local farmer’s market, butcher and fish monger. I see myself hand-selecting flowers and having an array of pretty vases to showcase them in. I picture making my own nut butters, almond milk and ice cream. There are other small things that I’d like to have too, like fresh orange juice daily, artisan bread (made by myself if I’m feeling particularly adventurous), interesting magazines and beautiful books for the coffee table and of course, pasta Sundays.
The latter is highest up on that list and probably the most likely to happen, no matter how much I fancy myself as a cross between Heidi Swanson and Rachel Ball.
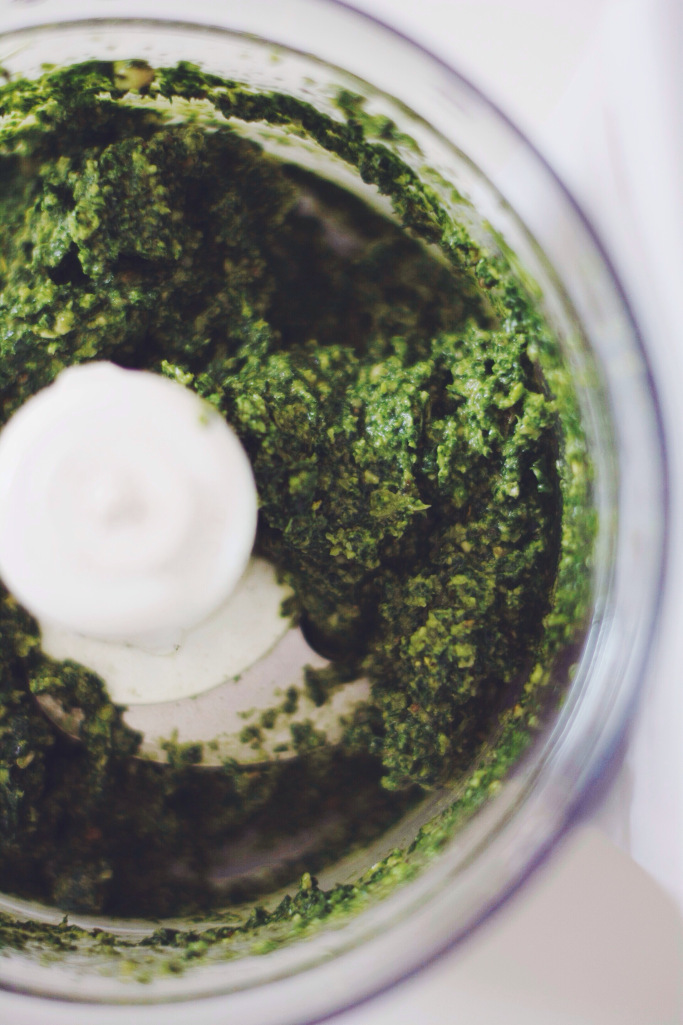
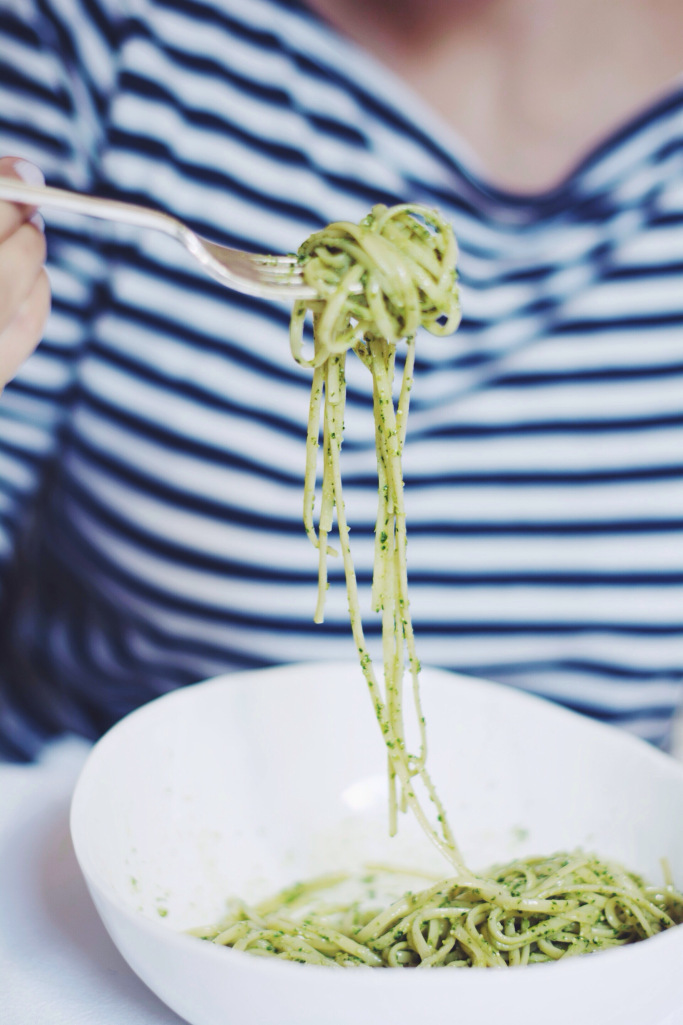
I’m sure that traditionally pasta on a Sunday should be had with a slow-cooked meat sauce like ragù, but being a pasta fiend and predominately herbivorous a simple pesto is my go-to sauce for any celebration of carbohydrates. The kale adds an element of richness (and health benefit), but I couldn’t give up the basil altogether, however you can easily sub the basil and go all kale if that’s how you like to roll.
Linguine with Kale Pesto
Makes roughly 300g pesto, serves 2
Ingredients
60g kale leaves, stems discarded
40g fresh basil leaves
1 clove of garlic
8 tablespoons mild/light olive oil
3 tablespoons pine nuts
2 tablespoons walnut halves
40g parmigiano reggiano, finely grated
30g pecorino romano, finely grated
250g linguine
Method
To make the pesto, in a food processor add the kale and basil leaves, garlic, walnuts, pine nuts, olive oil and a generous seasoning of salt and pepper and blend.
Stir in the grated cheese by hand. Add an extra glug of olive oil for good measure.
Cook the linguine according to packet instructions. When ready, drain and reserve a 1/4 cup of the pasta’s cooking water. Add 2 heaped tablespoons of the kale pesto to the hot pasta and add enough of the reserved water to loosen the sauce. Serve immediately.
Store the pesto in an airtight container covered with a little olive oil in the fridge. Keeps for a couple of weeks.
A couple of weekends ago I was in Impruneta in provincial Florence. It was like everything you’d expect from a small Tuscan town; winding countryside roads, rolling hills, incredible regional produce and beautiful views in every direction. It was breathtakingly beautiful and I seriously considered moving there approximately 4 times in a 36 hour period.
I was there for a wedding. A proper Italian, Tuscan wedding – or matrimonio toscano, if you will. Not that I’m massively into it but you know, basically the dream.
The ceremony was short and tasteful. The views were undeniably beautiful. The company was unbeatable, and the food? Incredible. I’m talking salty cured meats, the freshest tomatoes, the most creamy and delicious burrata I have ever encountered, zucchini flowers, pork cheek, fresh pasta – the list goes on. I left beaming and well-fed, and perhaps a little tipsy. Ya know.
After I got back to London it got me thinking about my favourite appetisers and entertaining dishes and it occurred to me there was something that could be in the running for the ultimate ‘occasion’ nibble: crostini.
Crostini consist of toasted slices of ciabatta, drizzled with great quality olive oil and topped with pretty much whatever you fancy. Keeping true to its Italian origin you could go for a simple mushroom or tomato and basil topping, but I love to get more creative with flavours and textures.
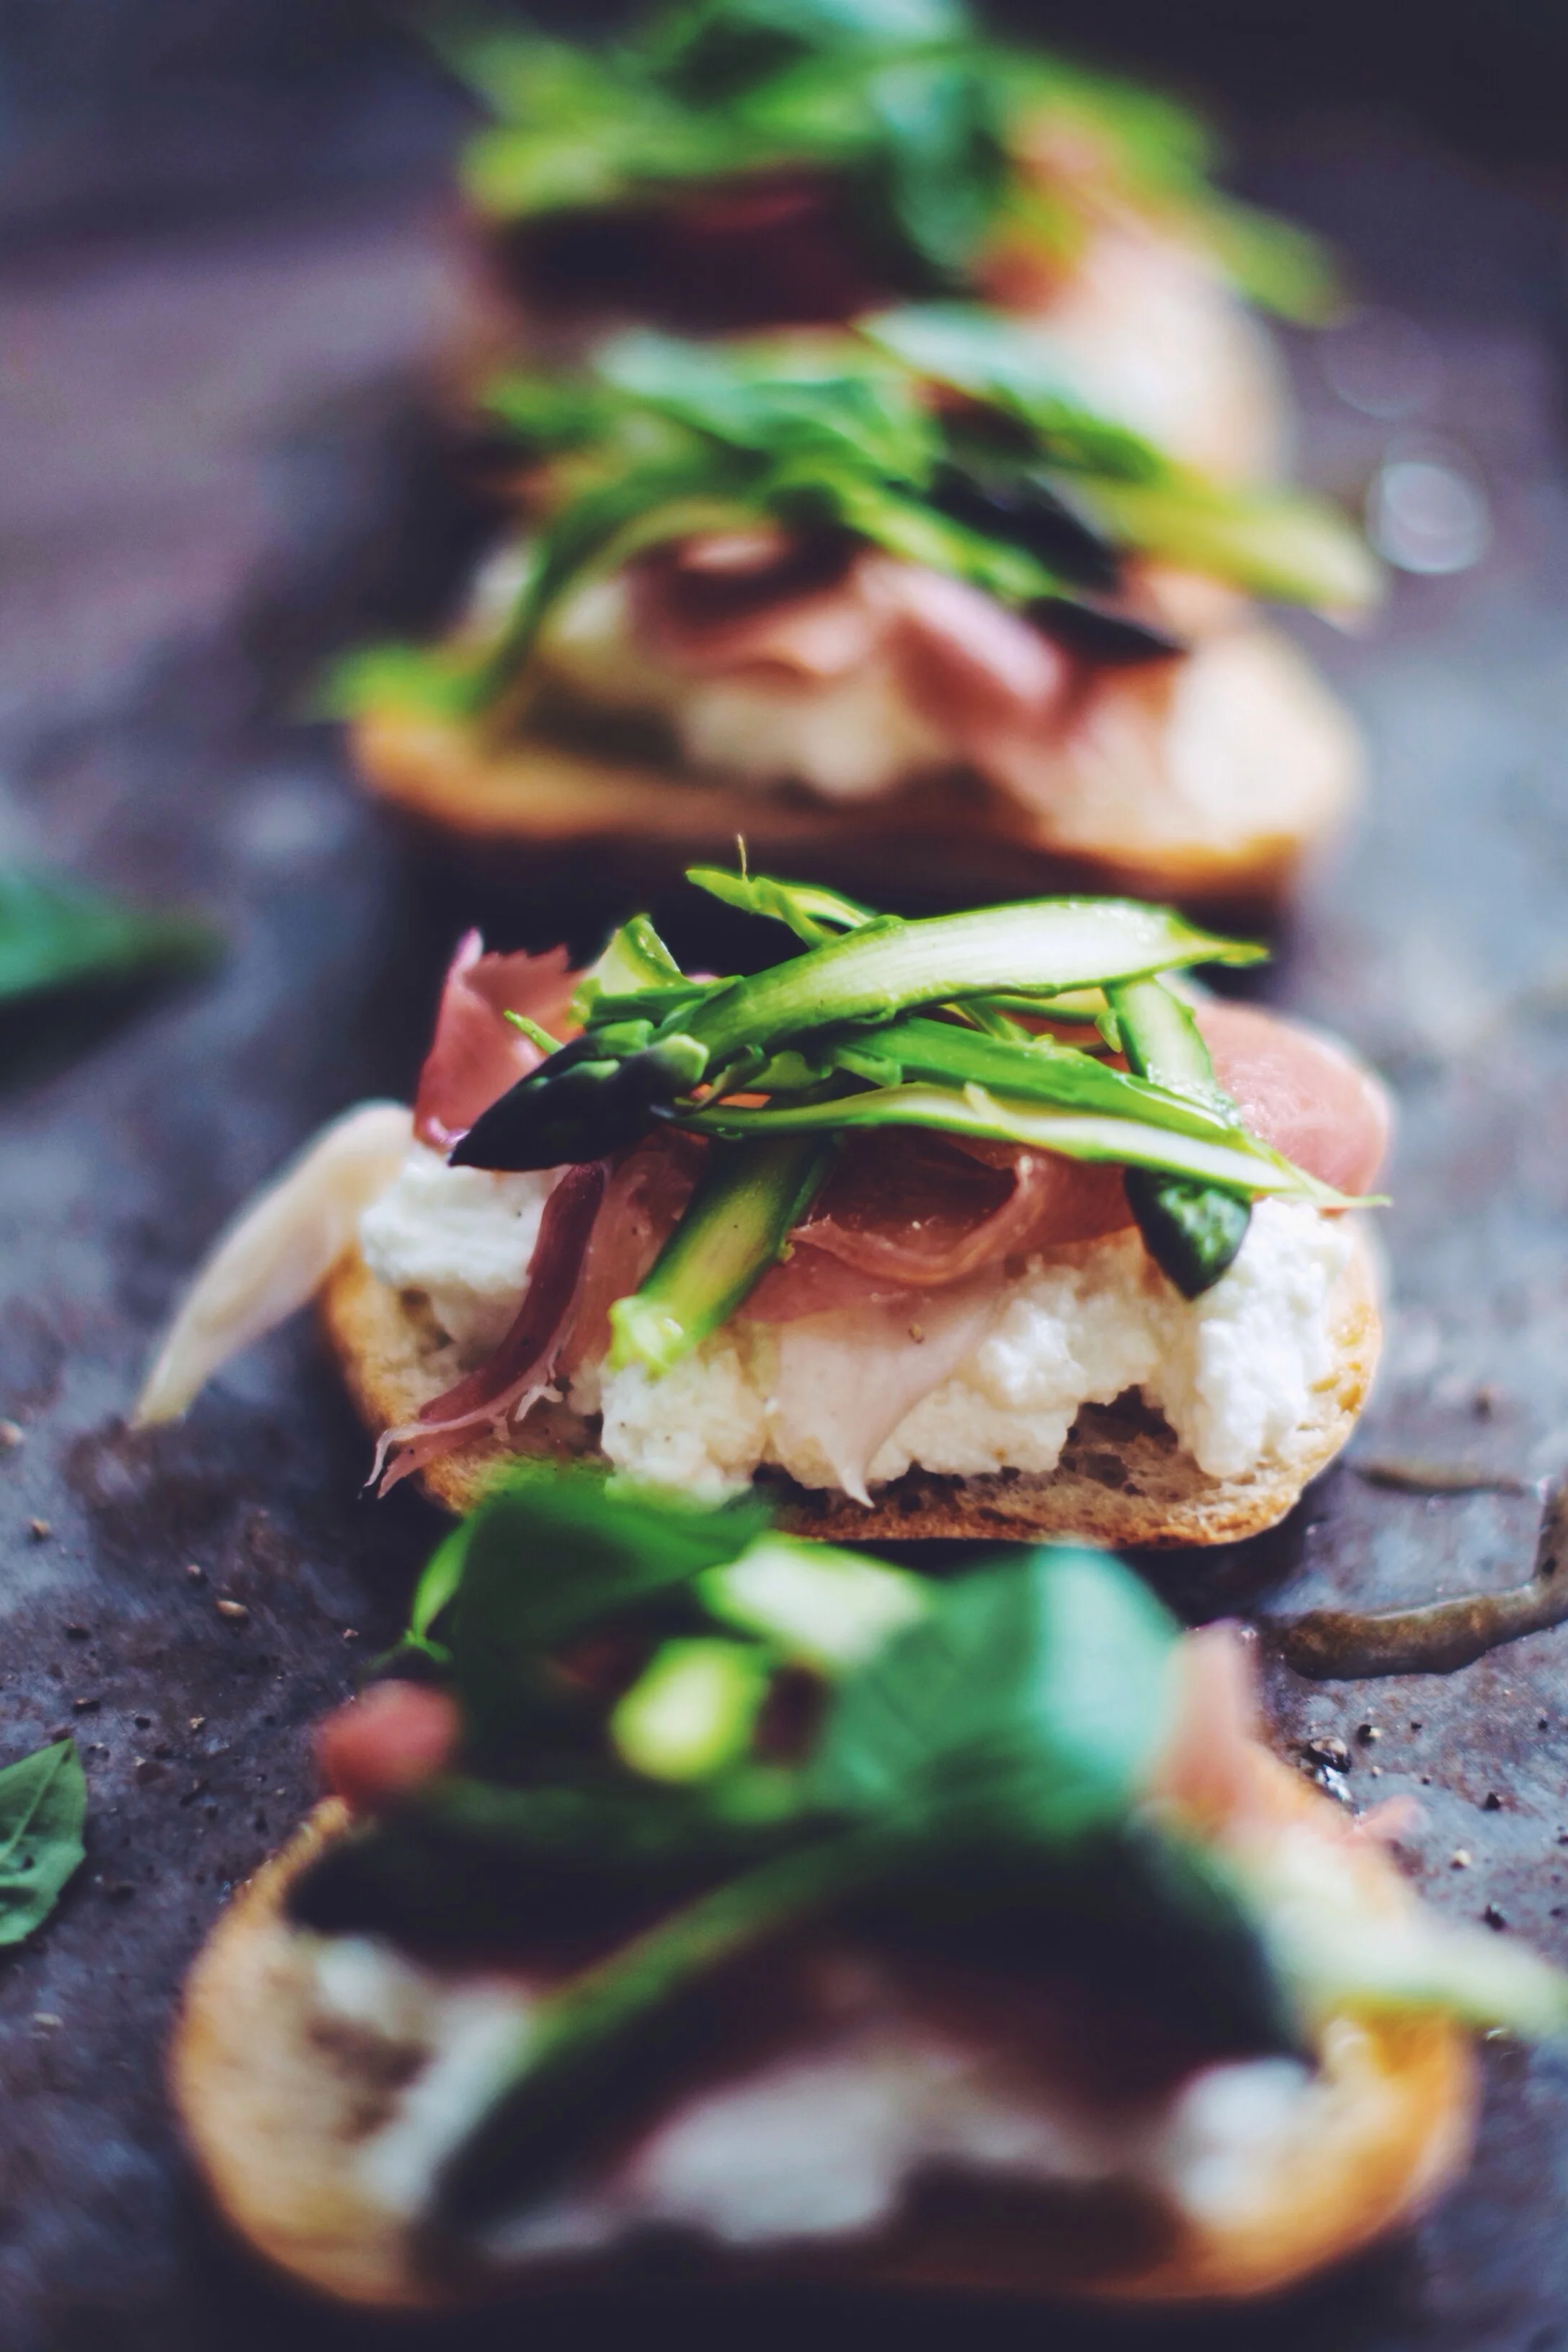
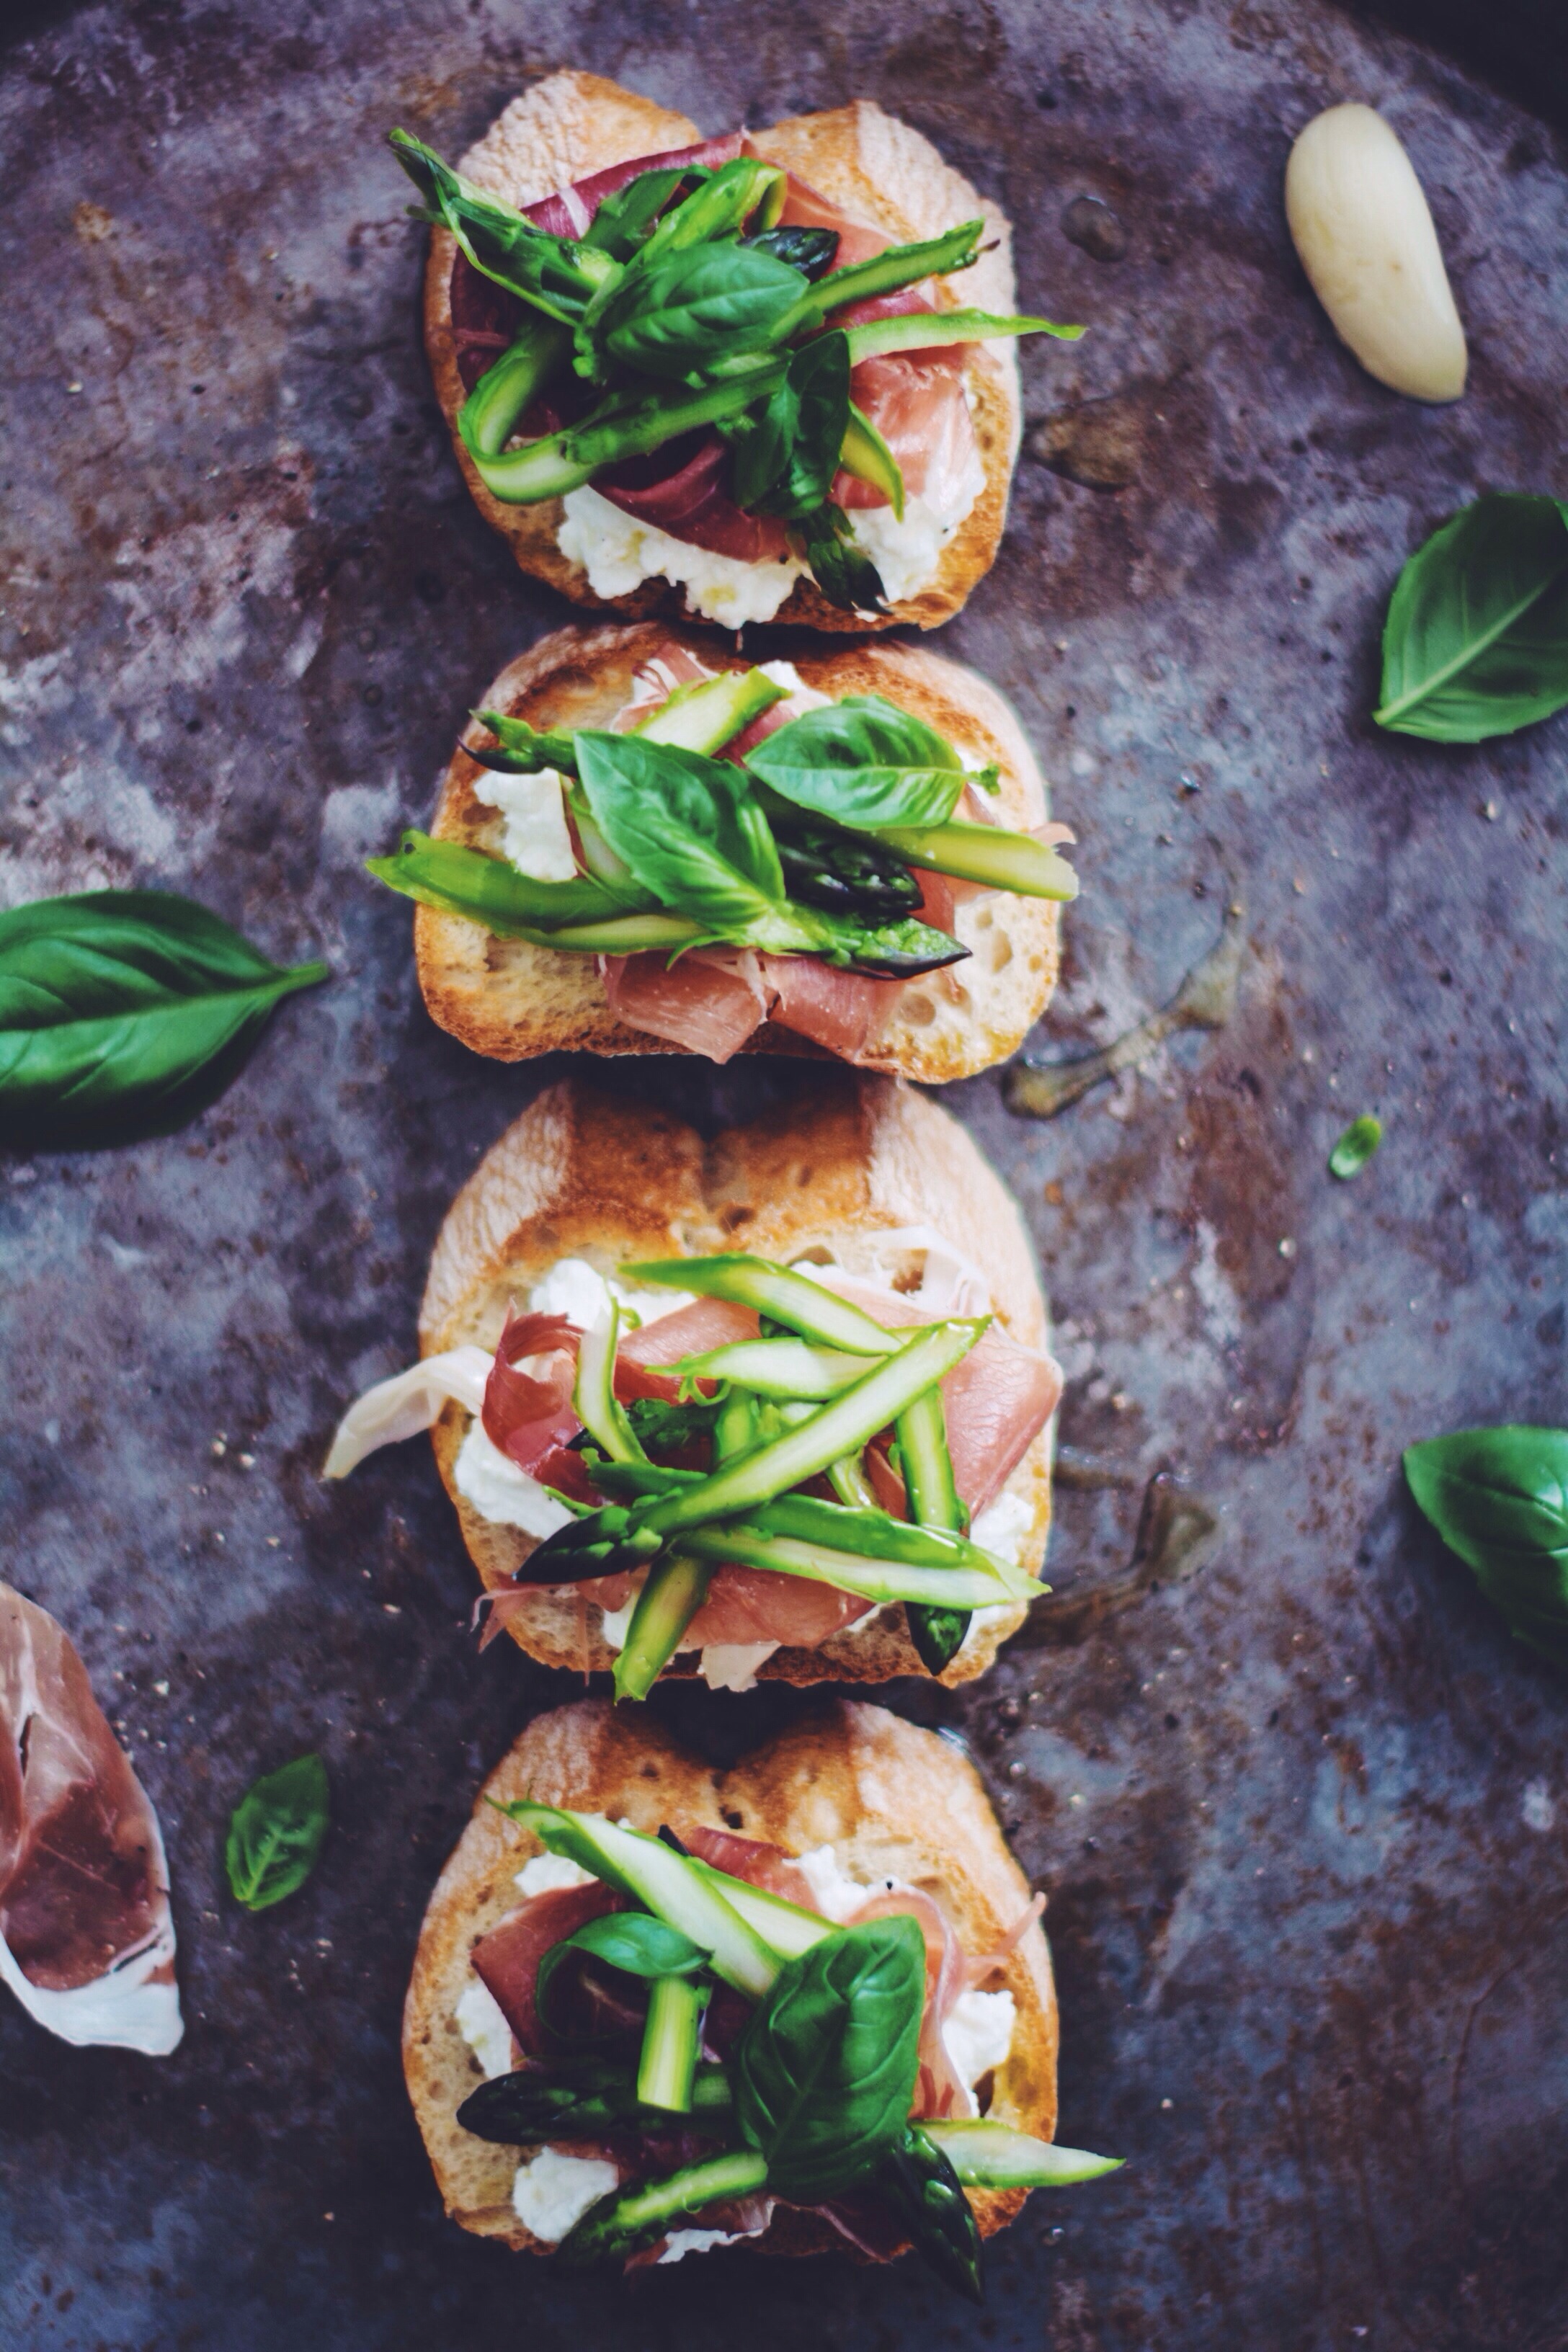
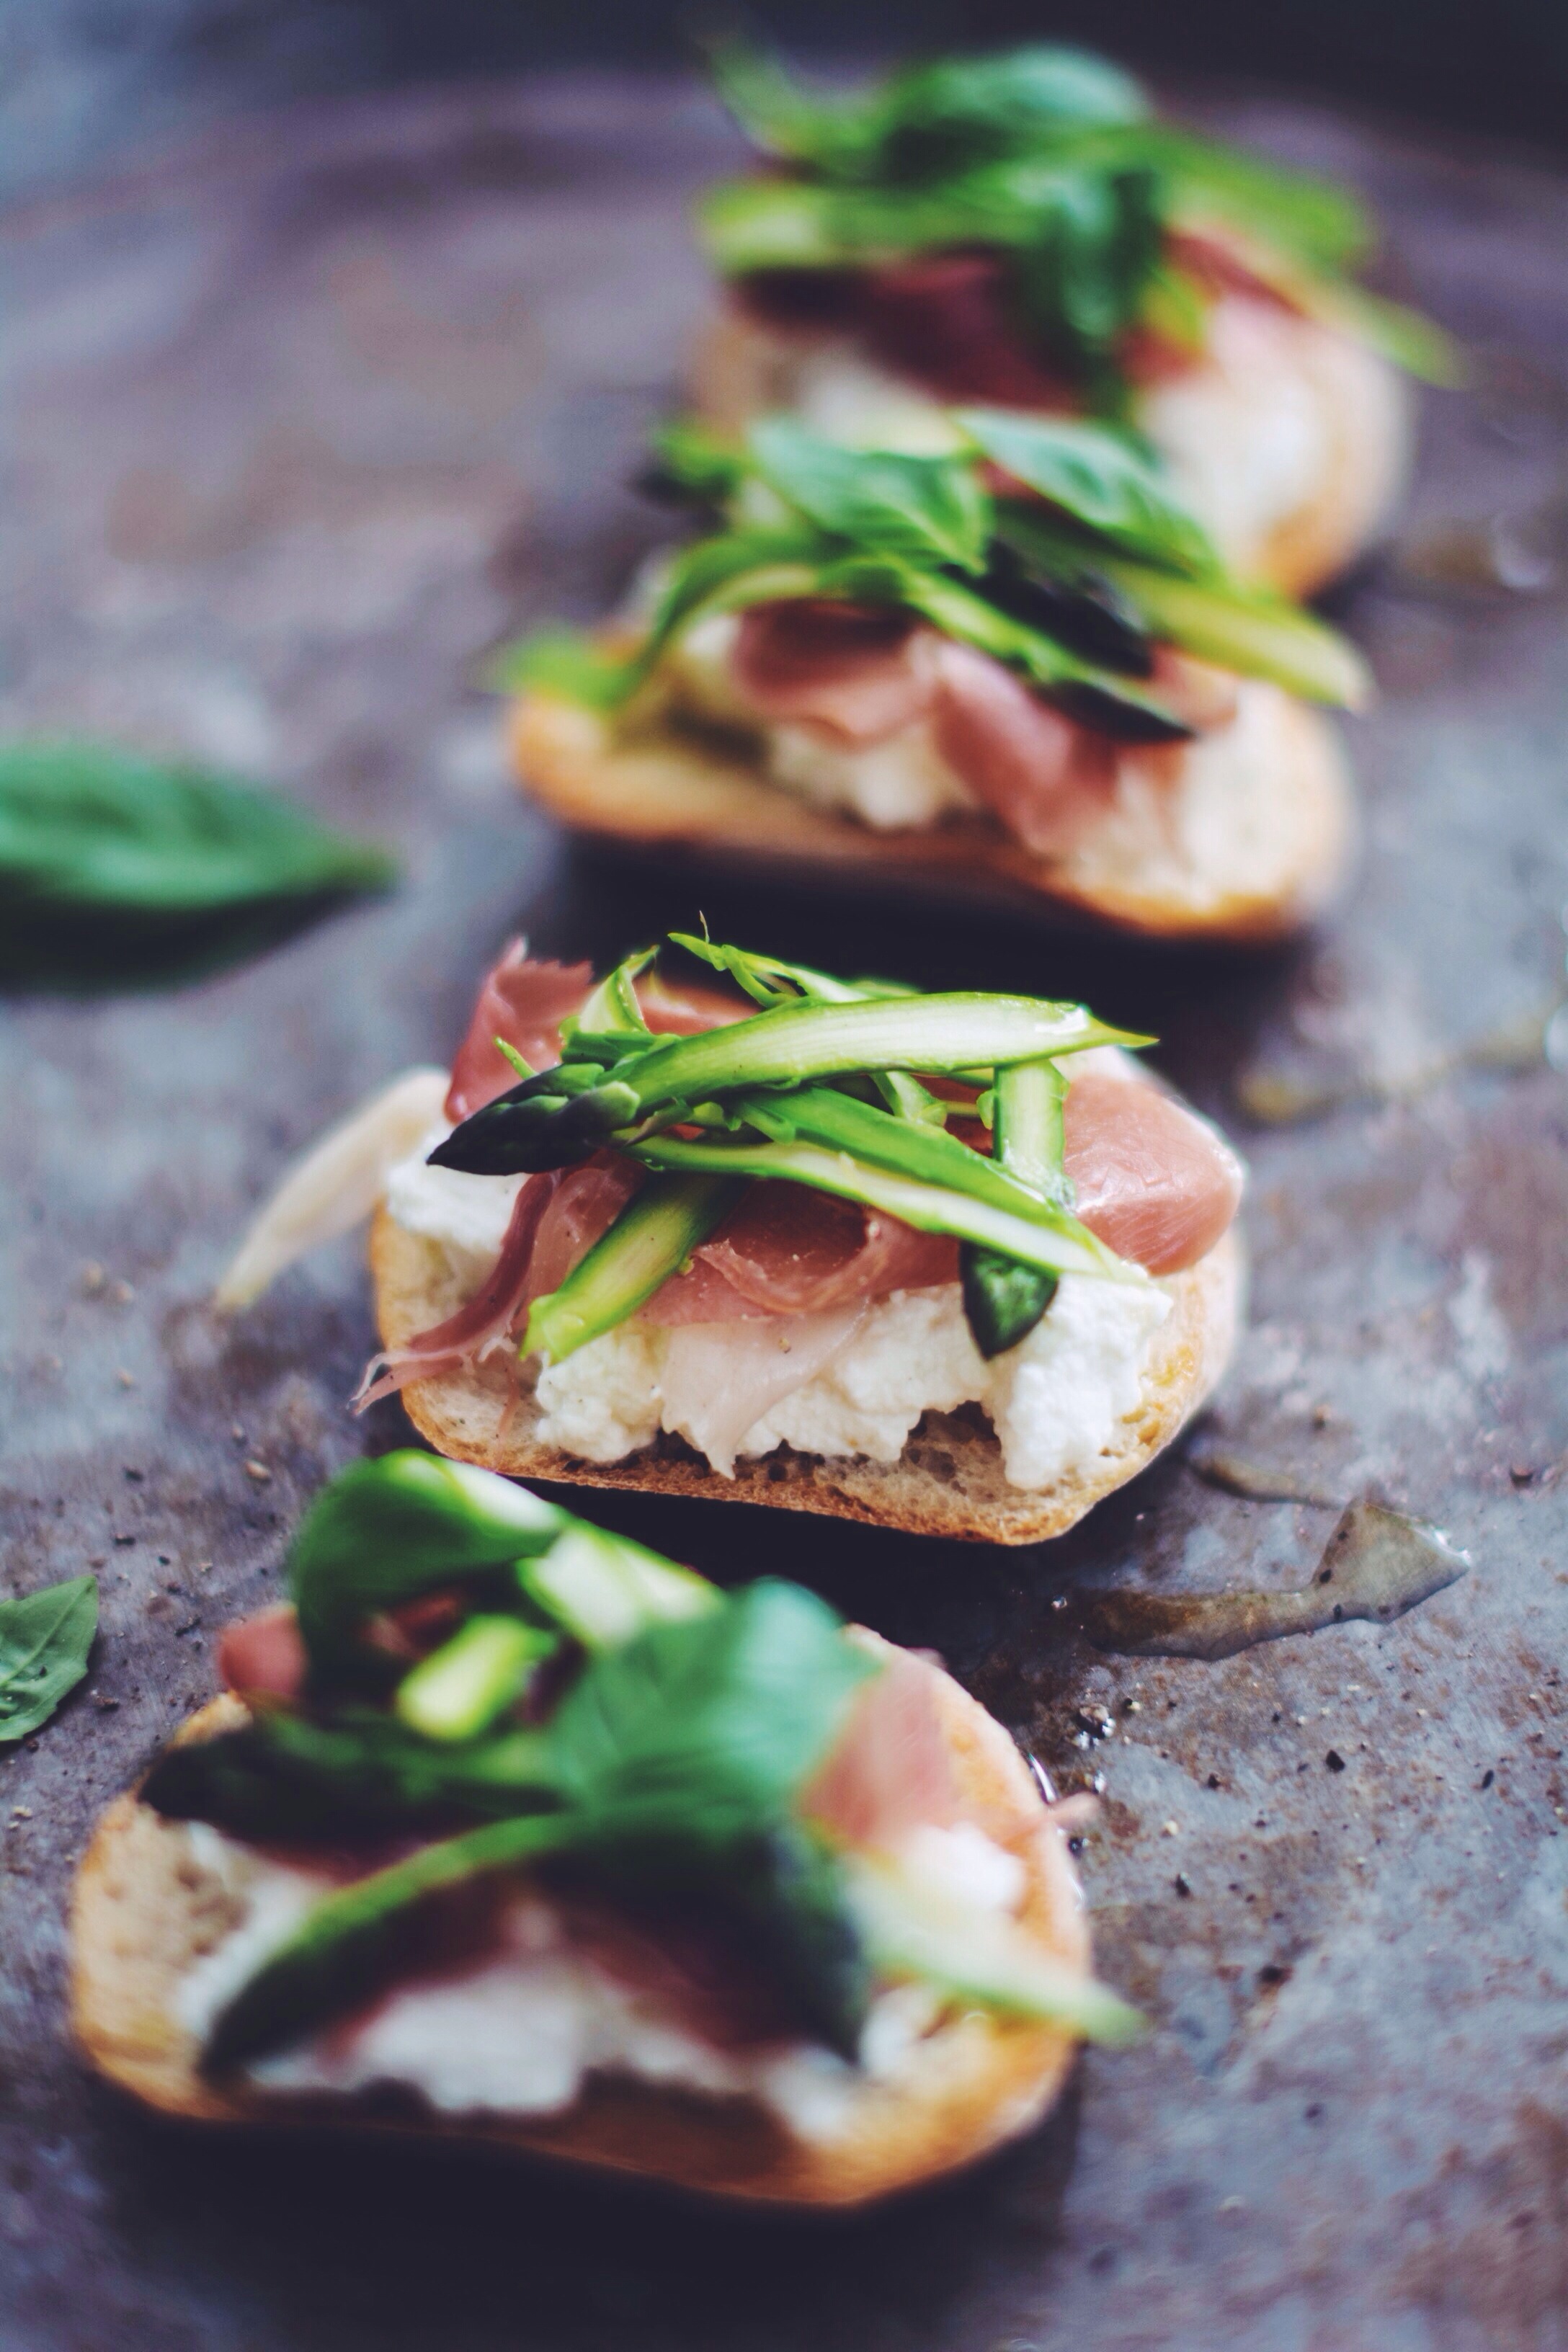
Longing for the burrata I ate in Impruneta and not having it to hand I topped toasted fresh ciabatta with ricotta, before laying to bed wafer thin slices of Parma ham and shaved asparagus on top, finishing with a simple leaf or two of fresh basil. Uh-oh kinda heaven.
Crostini certainly get my vote. What are your go-to dinner party dishes?
Happy Friday (and 4th July for all y’all American readers)!
Ricotta, Asparagus + Parma Ham Crostini
Makes 8 crostini
Ingredients
1 loaf of ciabatta, cut into inch thick slices
Olive oil
1 garlic clove
4-5 slices of Parma ham
4 small or 2 large asparagus
250g ricotta cheese
Fresh basil
Method
- Toast the ciabatta slices. Rub the garlic clove over one side of each crostino slice.
- Season the ricotta with a little salt and pepper and dollop onto each crostino. Next top with a sliver of Parma ham.
- Cut the asparagus into ribbons using a vegetable peeler and blanche in boiled water for around 1 minute. Drain and cover with cold water to prevent losing the vibrant green colour.
- Top the Parma ham with the asparagus ribbons, followed by a few basil leaves and a healthy drizzle of olive oil.


